Below are the steps to setup barcode printer
1. Select the hamburger menu icon to open sidebar menu 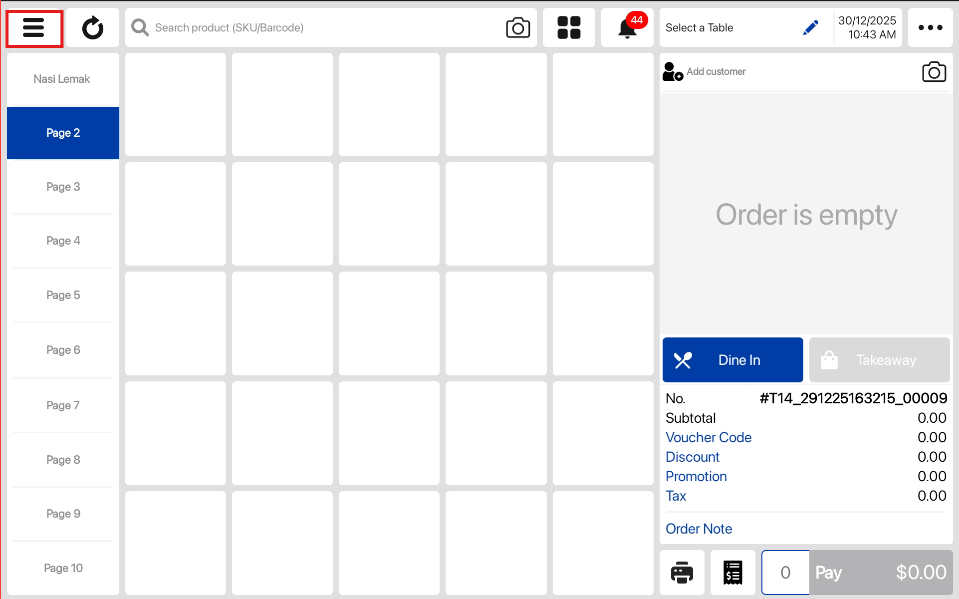
2. Select Settings from the side menu on the sales screen. 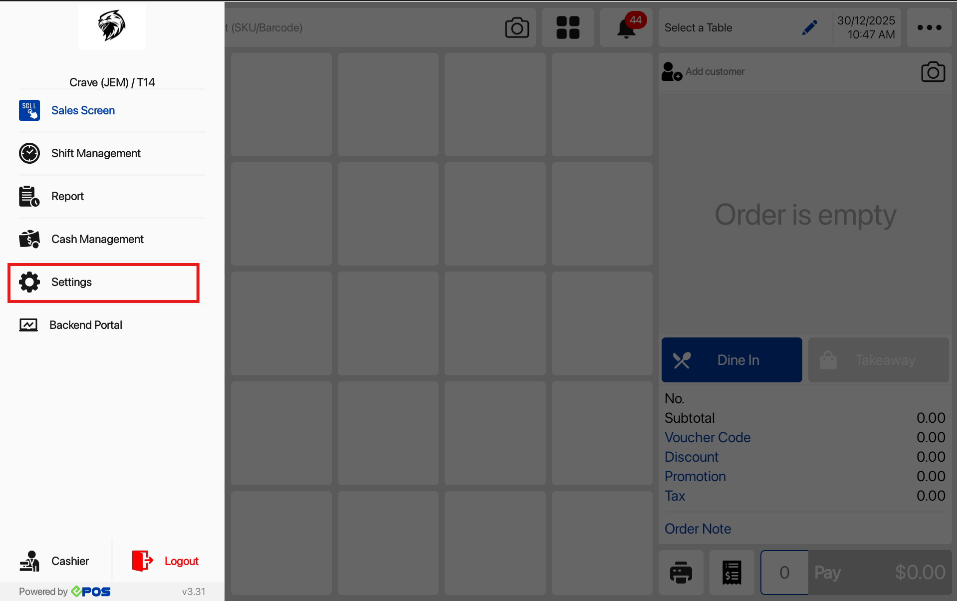
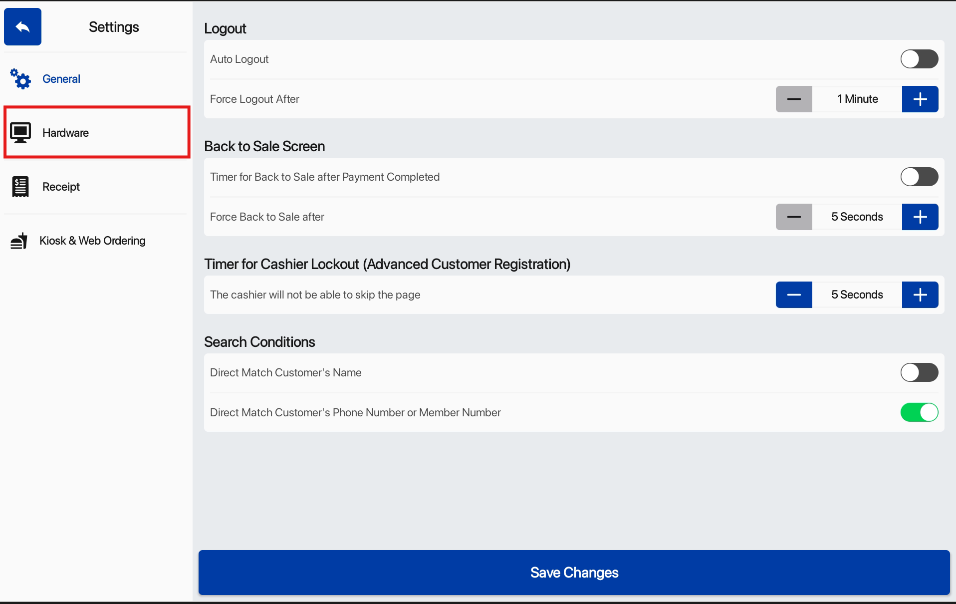
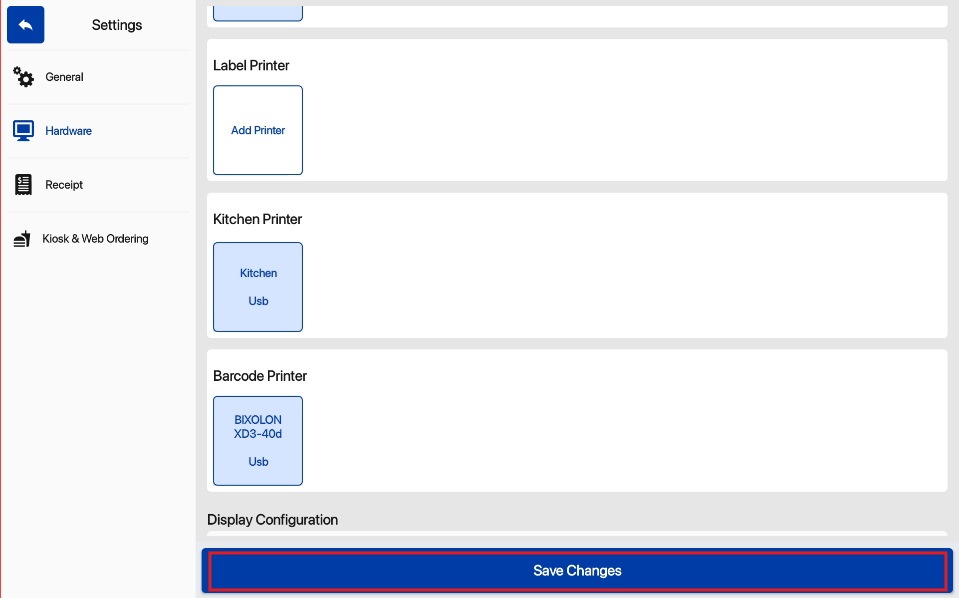
3. From Settings, the select Hardware.
4. Select Add a new Printer under Barcode Printer to setup a new device. 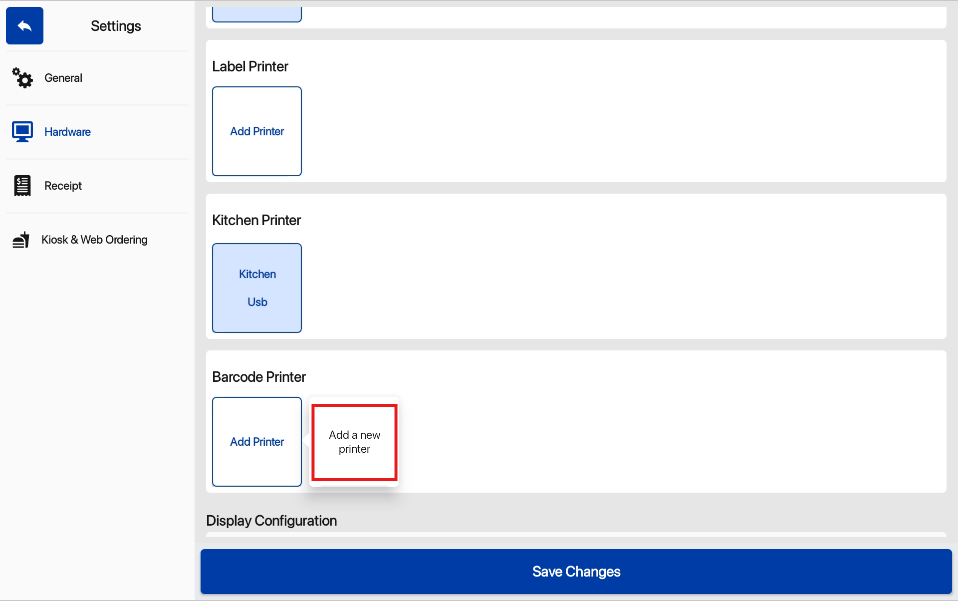
💡If printer is already connected, select Replace to change printers, select Delete to remove current printer.
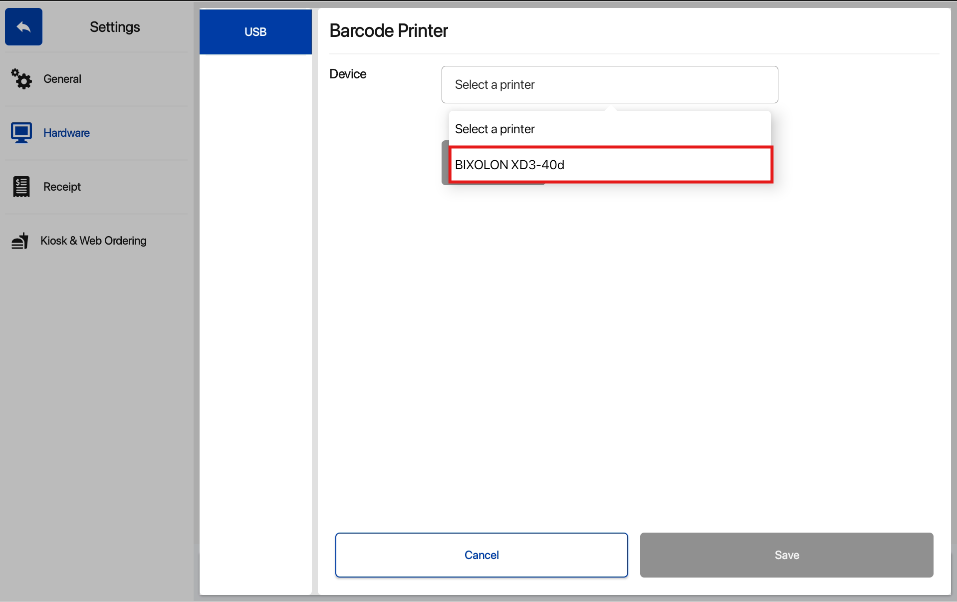
5. Choose USB printer from the list of USB printers detected by the System.
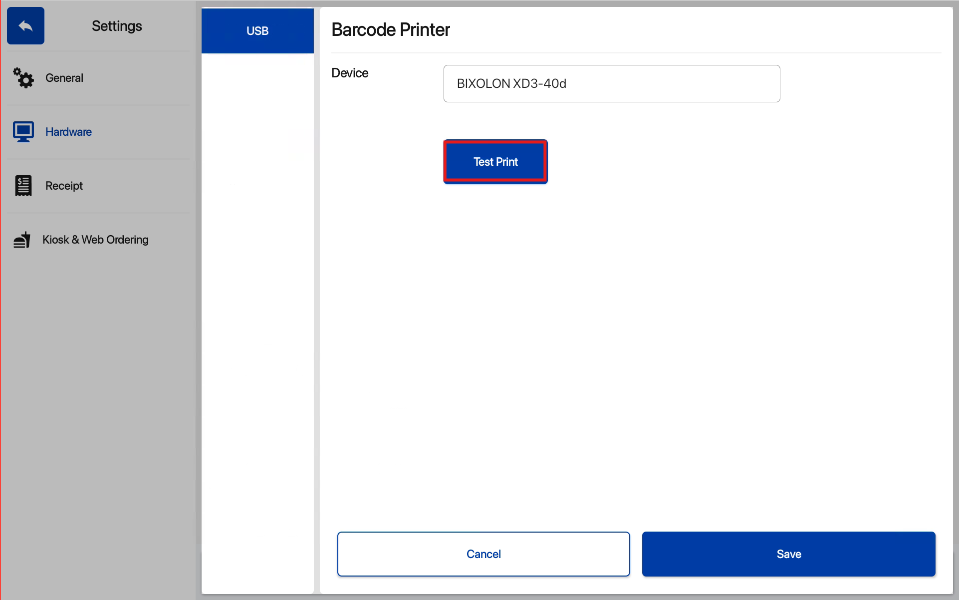
6. Select Test Print to validate USB printer setup.
💡Test print Example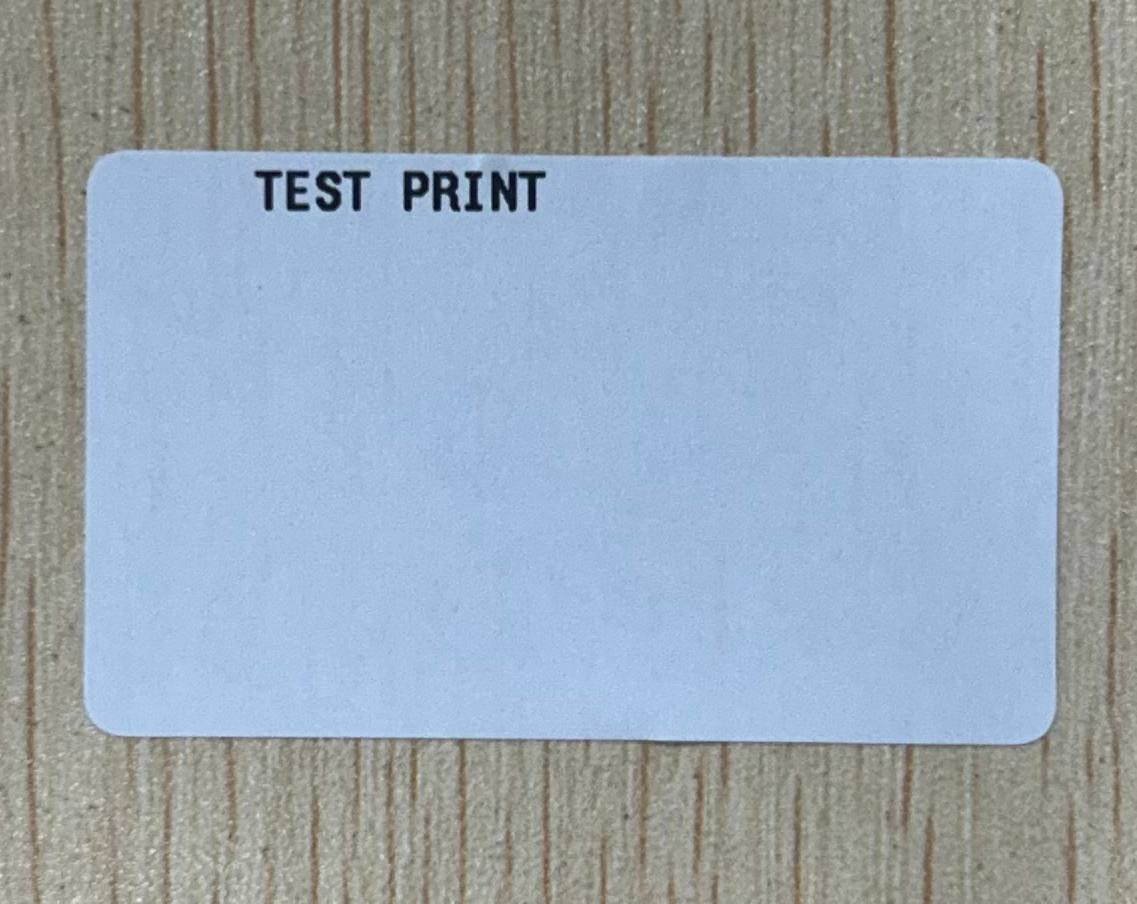
7. Select Save to confirm printer selection.
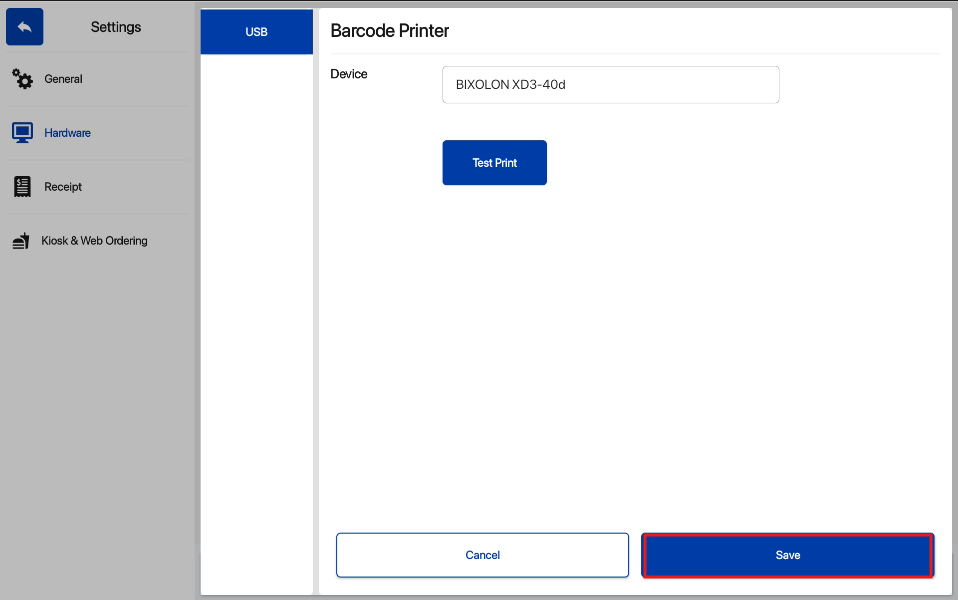
8. Select Save Changes on the Hardware page to confirm the setup
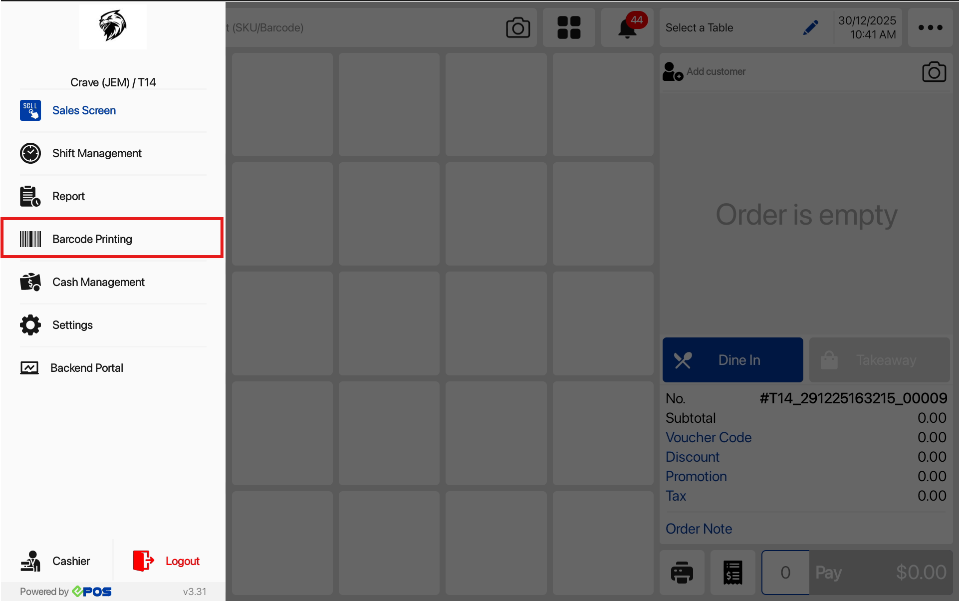
9. When setup is completed, user will have access to the Barcode Printing Function on the hamburger sidebar menu.
Below are the steps to print a barcode
1. Select Barcode Printing from the Sales screen hamburger icon sidebar menu.
2. Using the Search Bar, Search for the product
3. Barcode Printing Page when a product is added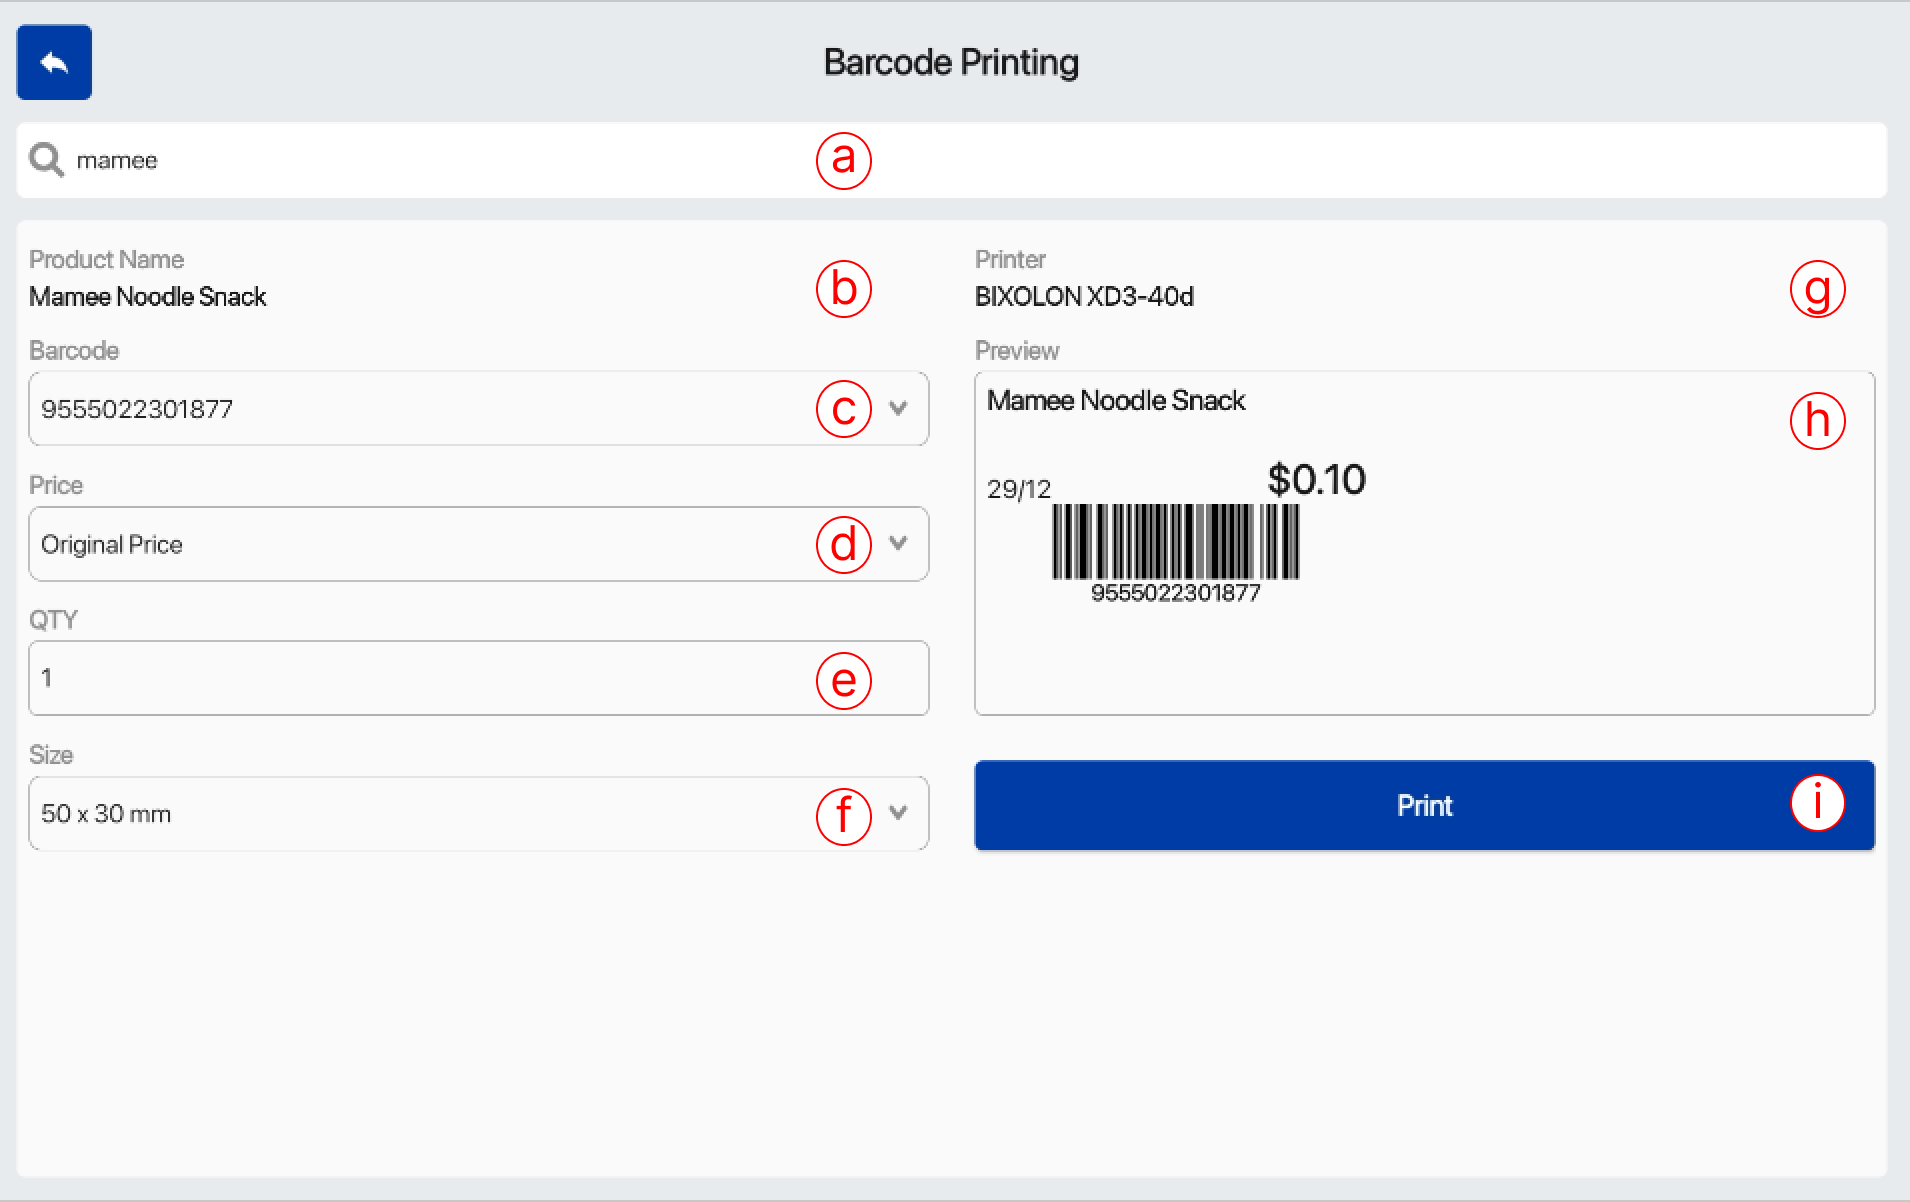
a) Product Search Bar
– Search for the product with the product search bar
b) Product Name
– Name of the product
c) Printer Name
– Name of the Printer used to print the barcodes
d) Barcode Number
– Barcode Number of the product selected
e) Price
– Select the price
f) QTY
– Quantity of Barcodes to print
g) Preview
– Preview of the barcode format to be printed
h) Size
– Size of the printing can be selected by selecting the dropdown button
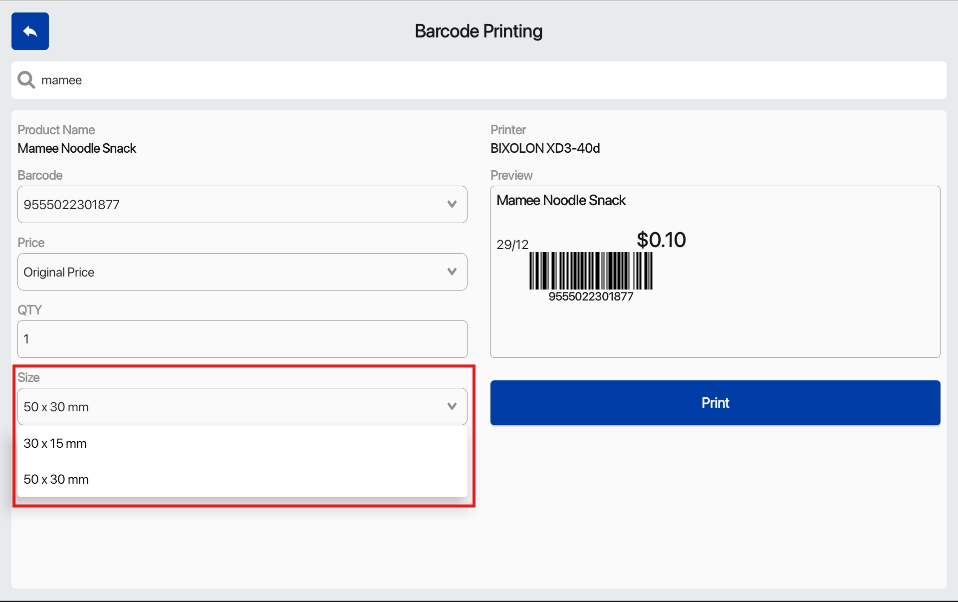
💡Supported dimensions are 30 x 15mm and 50 x 30 mm
50 x 30 mm example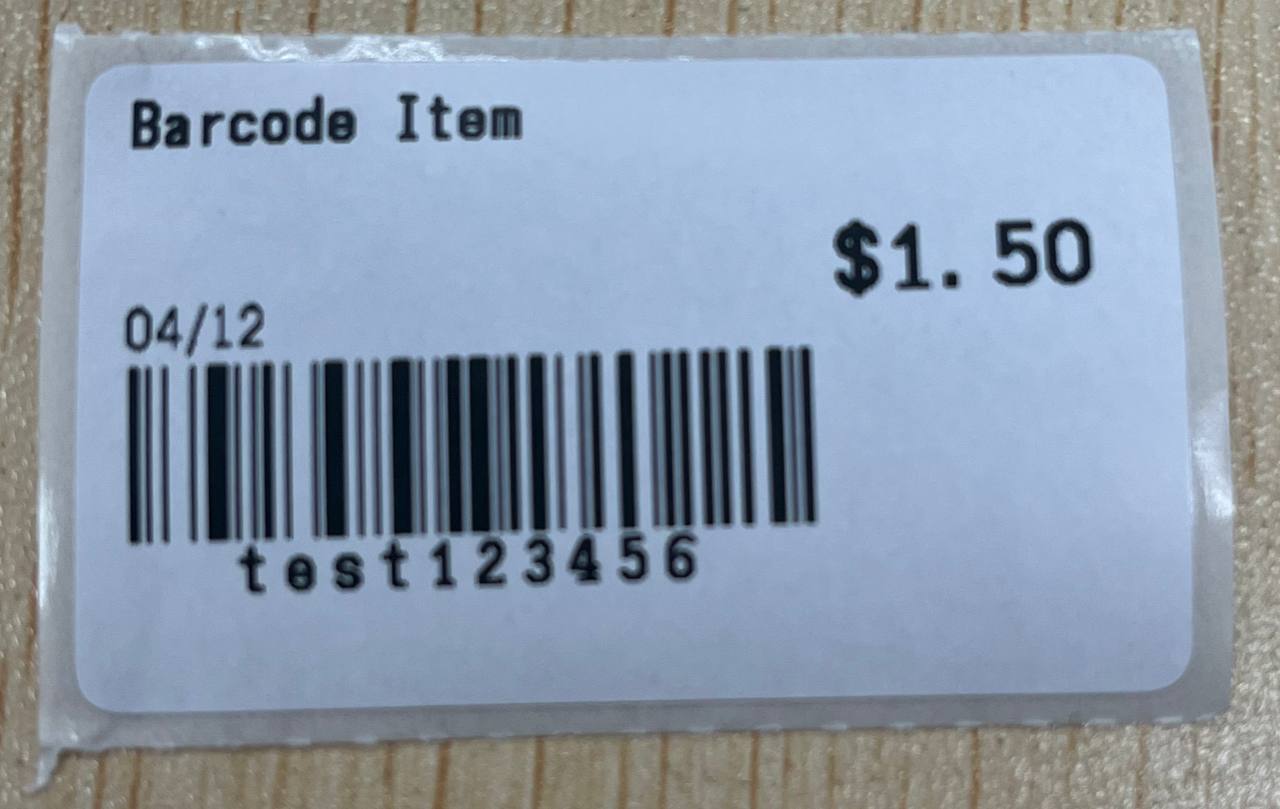
i) Print Button
– Select the print button to print out the desired barcode
4. Select Print button to print out the barcode
