This section describes in detail the feature of Set Menu. Users will be guided through creating a new menu, adding products to the menu, and configuring the menu created. This feature is best for users from the F&B industry to implement a special menu during dedicated operating hours/days.
At the Features Panel, click on Set Menu to access the Set Menu Main Page.
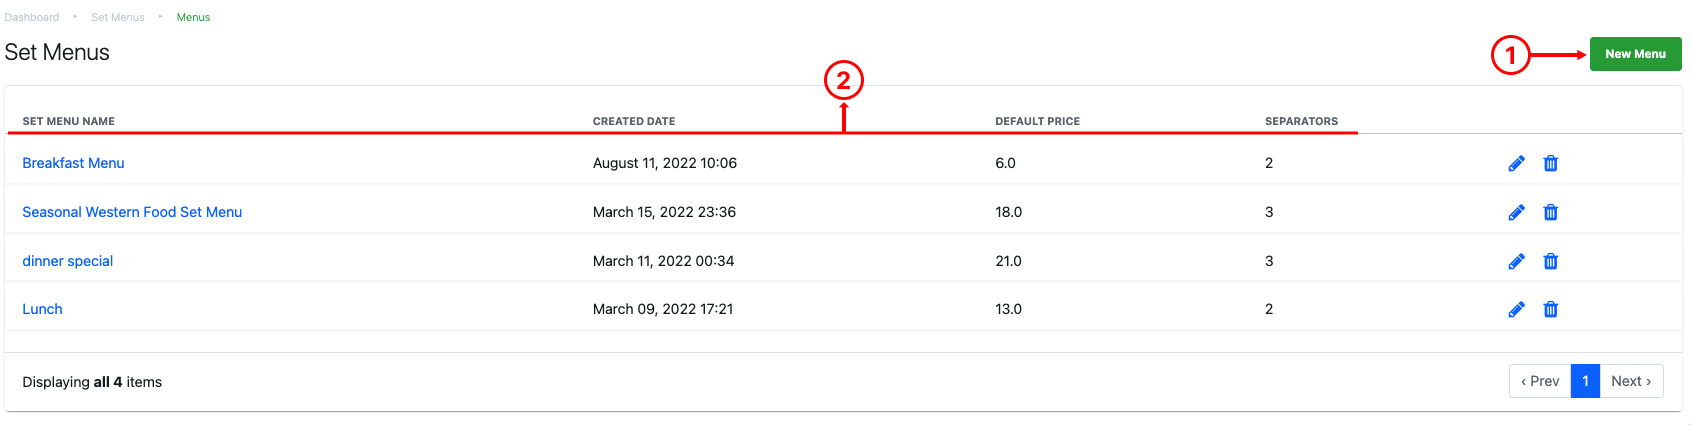
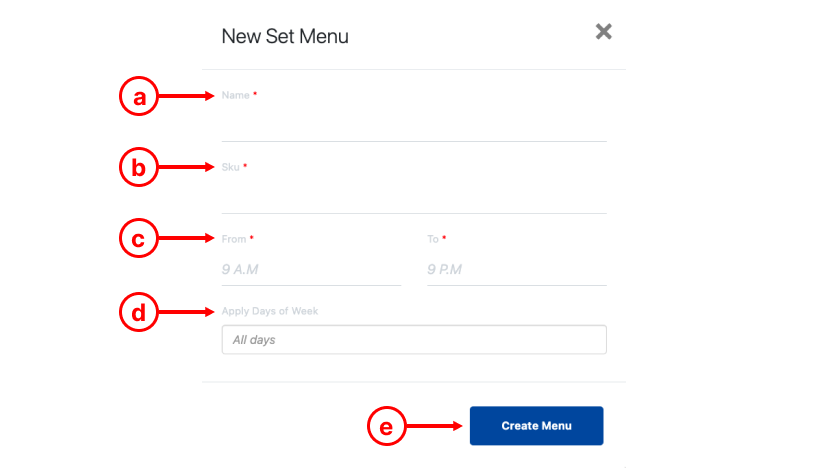
1. New Menu
Enable users to create a new set menu.
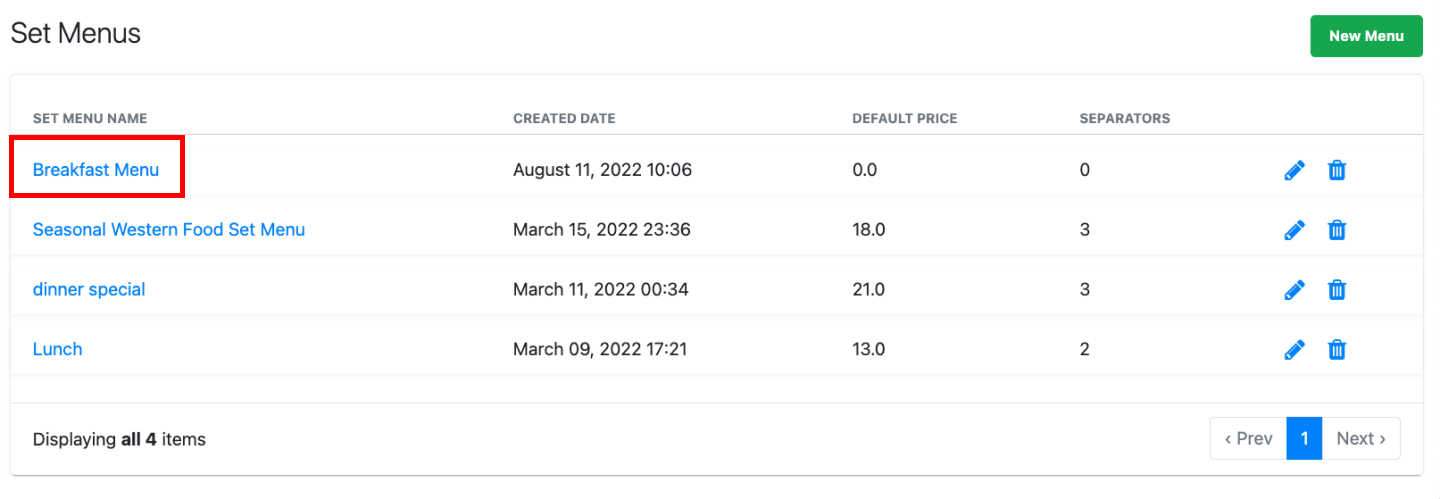
2. Set Menu Details
Show users information relating to a set menu created.
-
- Set menu name
- Created date
- Default price: Sum of prices for default set menu choices.
- Separators: number of courses or items per set menu.
To access Set Menu Configuration, click on the Name of the Set Menu.
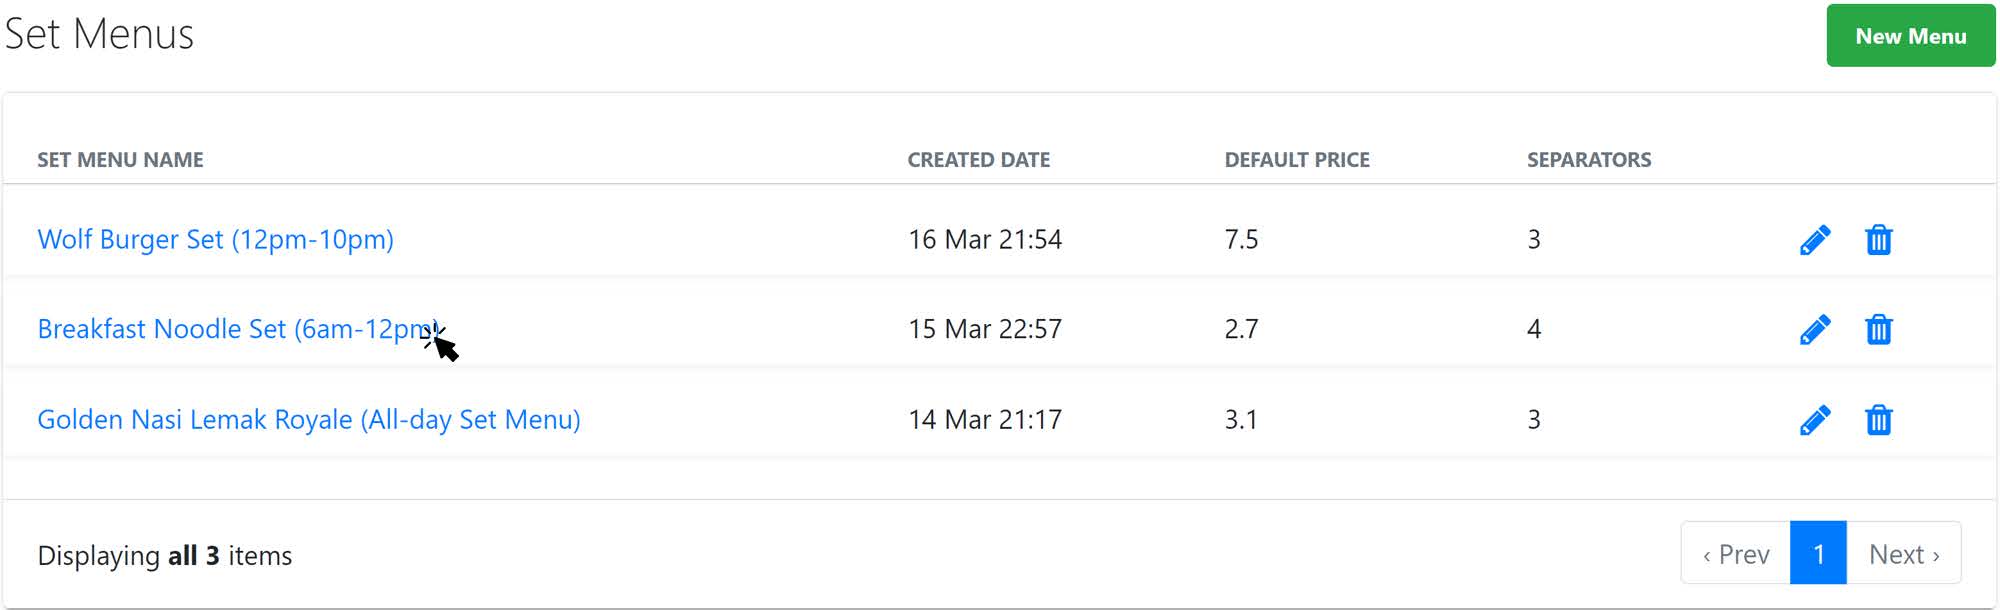
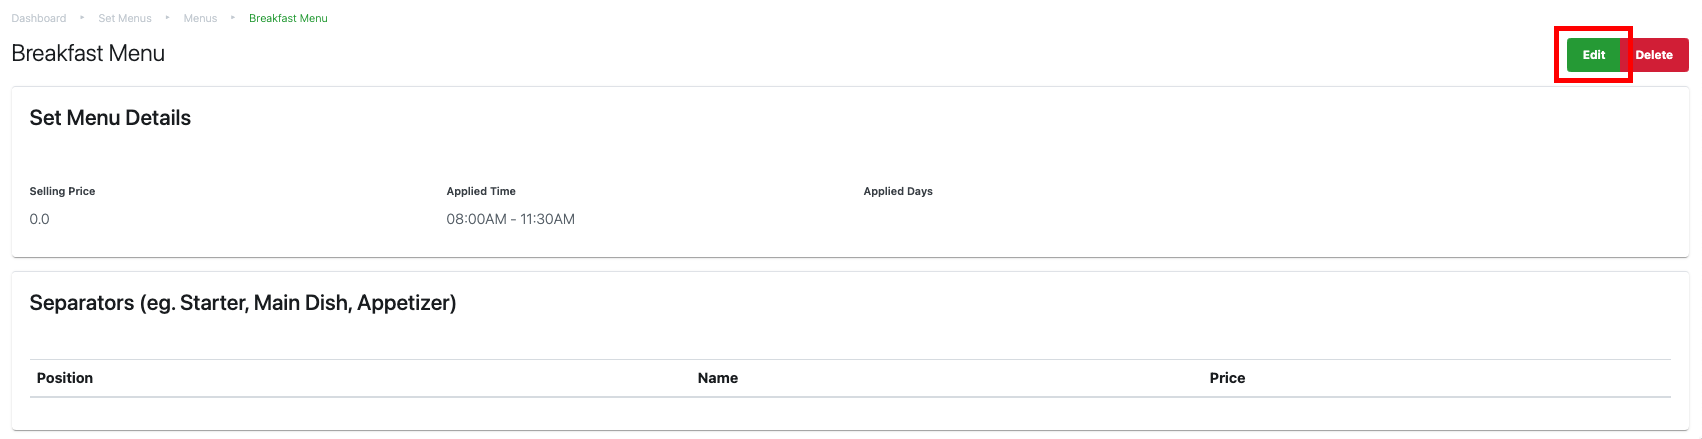
First, users will be directed to the Set Menu Overview page. Users will be able to see all separators and products added to the Set Menu.
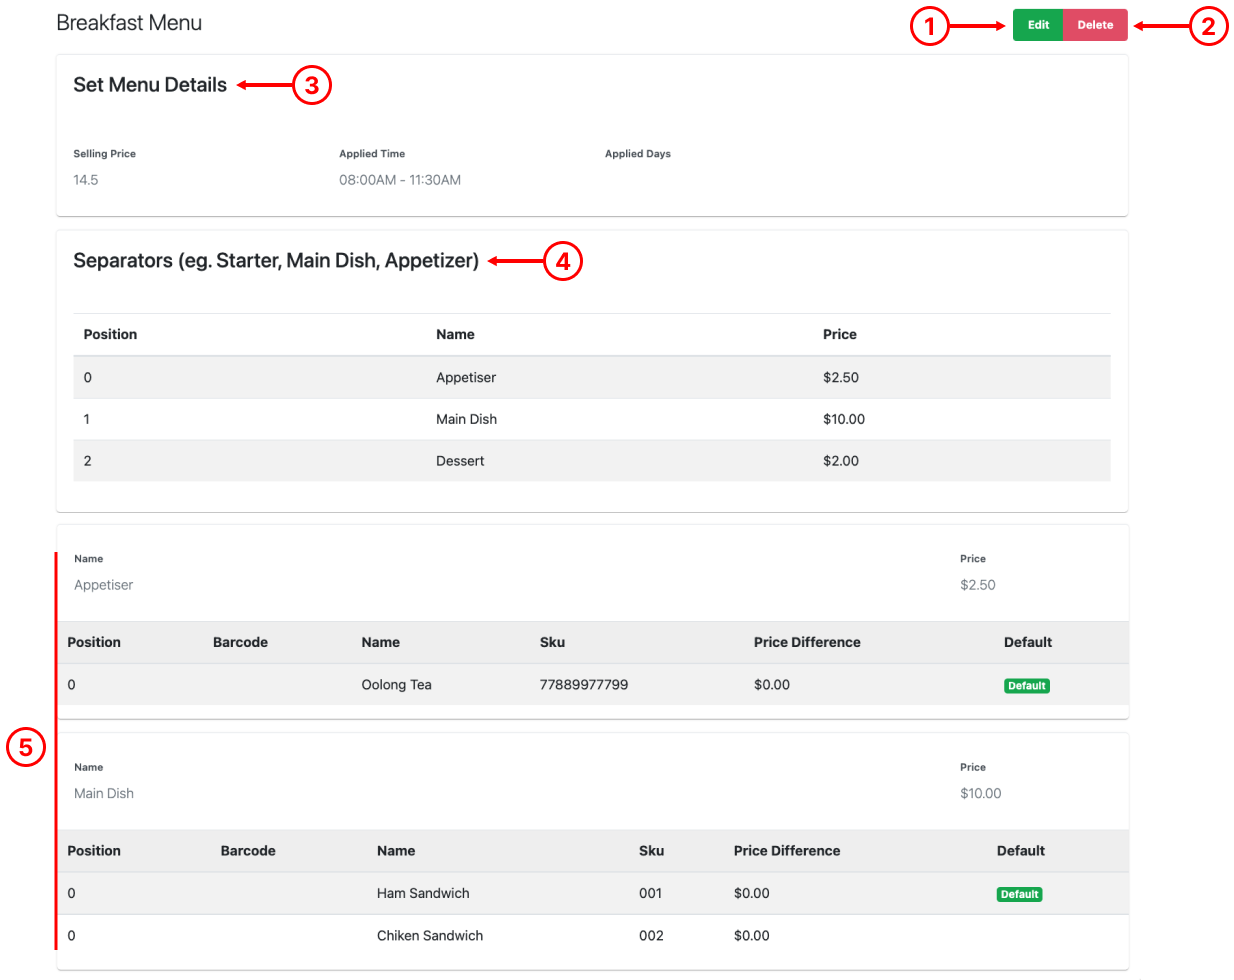
1. Edit Button
Directs users to the Set Menu Configuration.
2. Delete
Removes set menu from database.
3. Set Menu Details
Shows users general information relating to the set menu.
-
- Default selling price
- Applied time
- Applied days
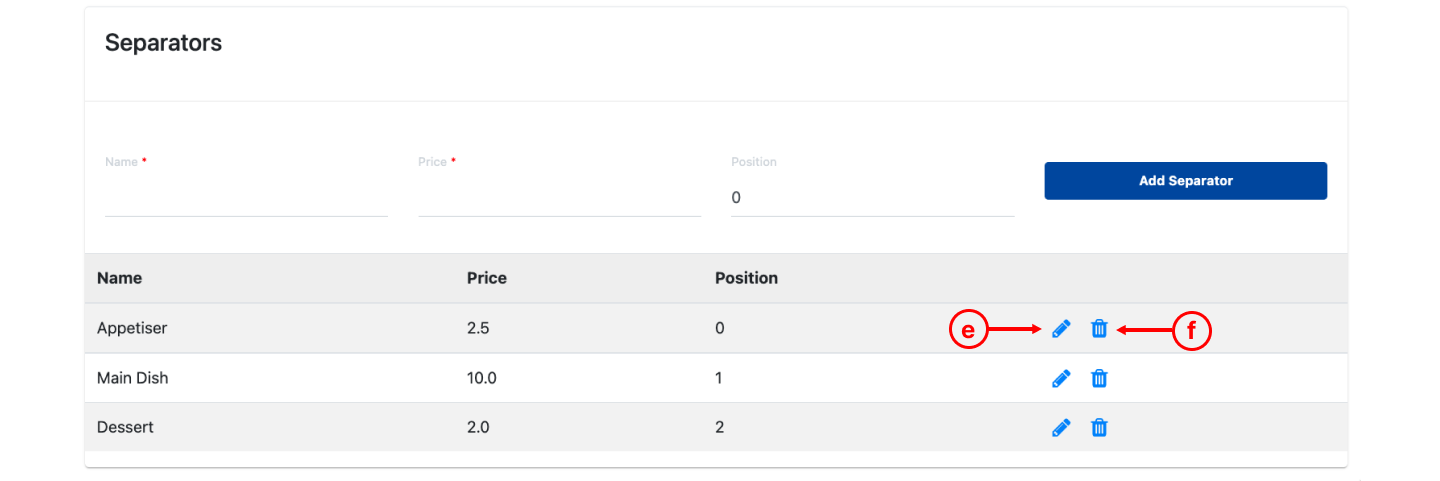
4. Separators Shows users the list of separators added to the set menu and default price.
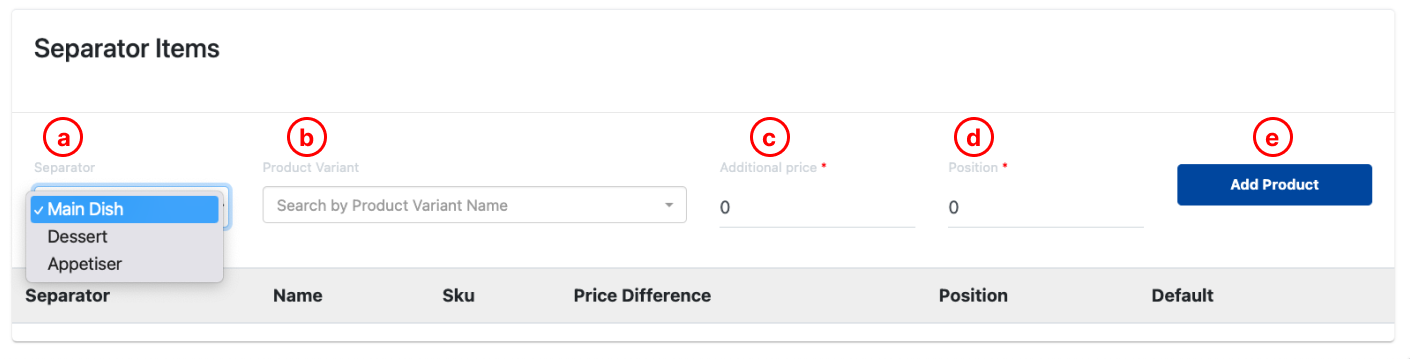
5. Separators Details
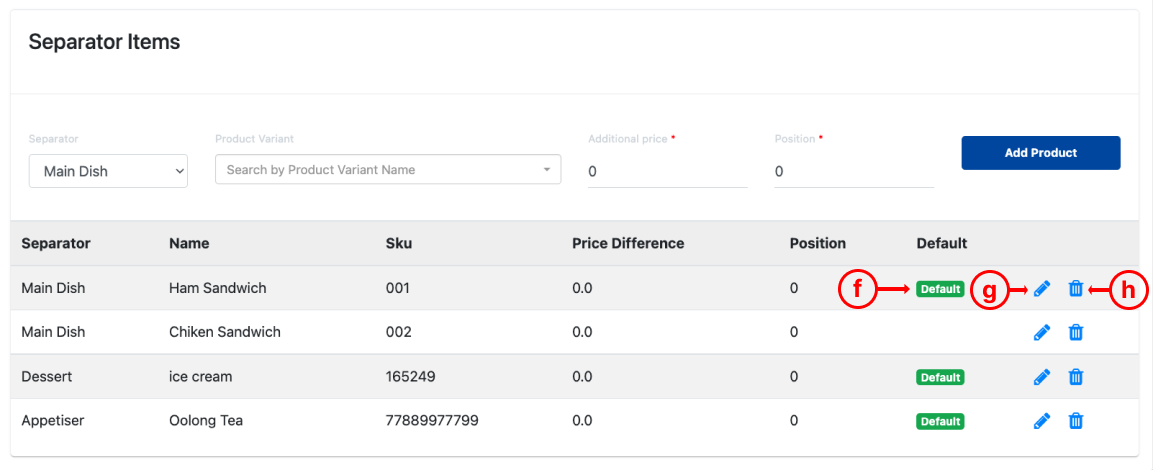
Shows users the list of products added into each separator.
-
- Position of each product within separators
- Product barcode (if any)
- Product Name
- Product SKU
- Price Difference (if any)
- Default choice
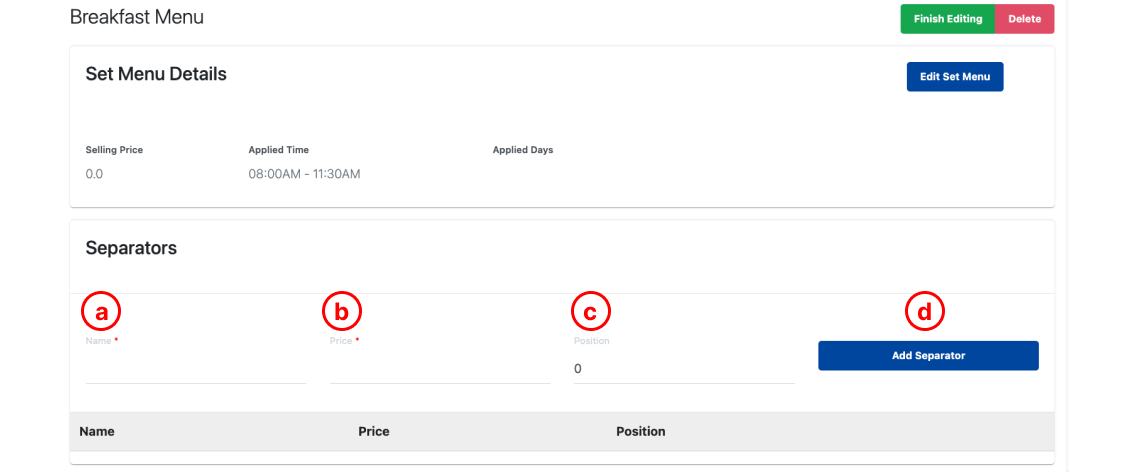
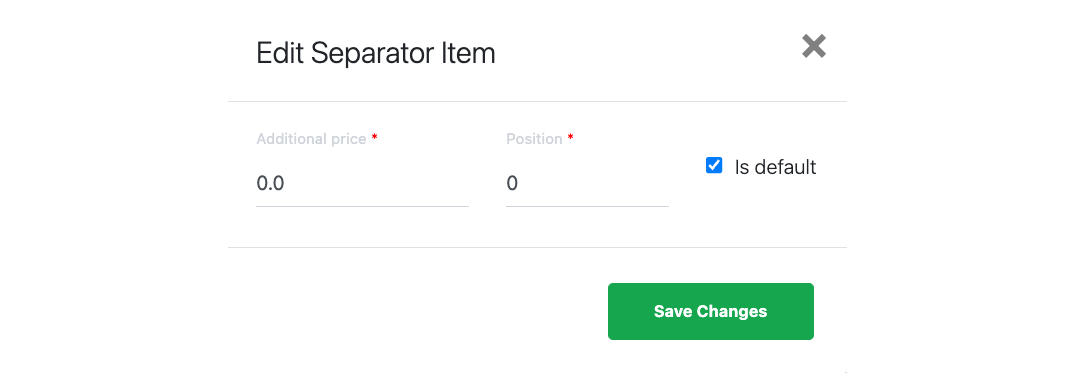
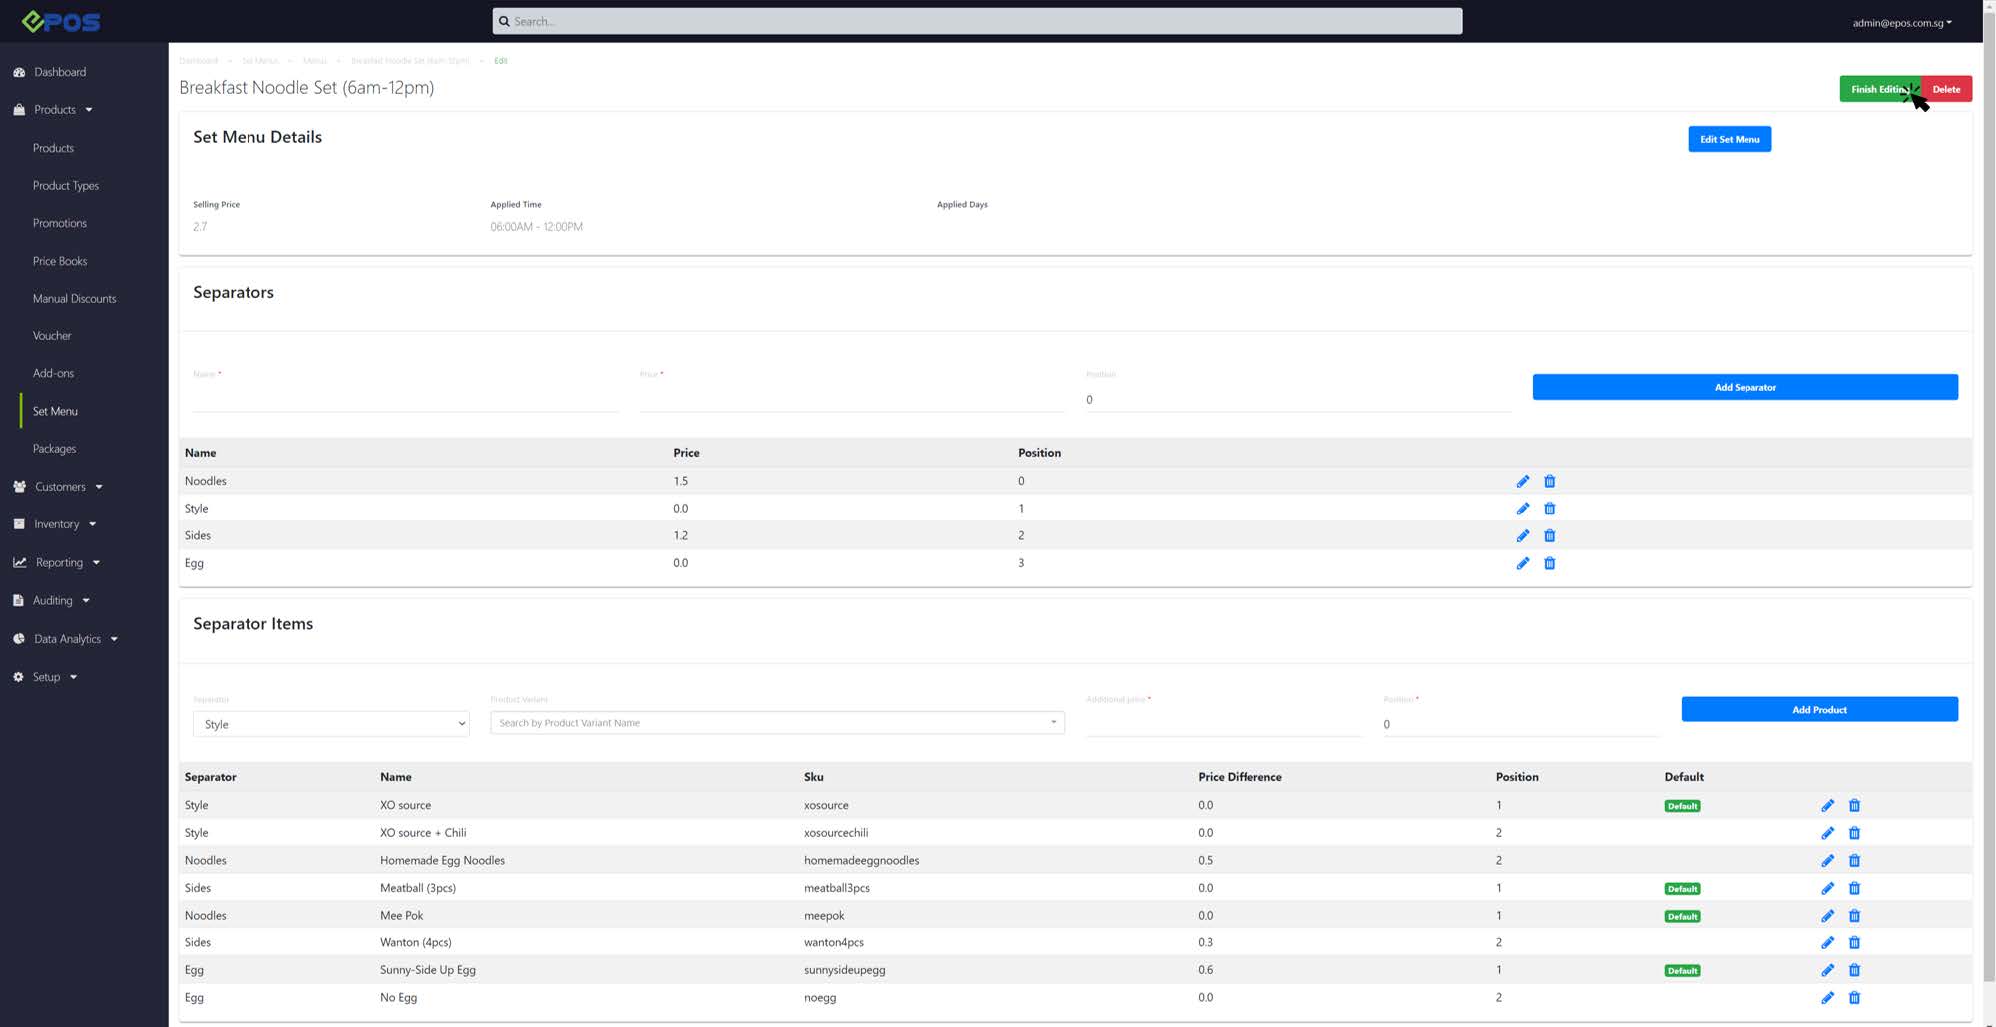
To configure the set menu, at the set menu overview page, click on Edit.
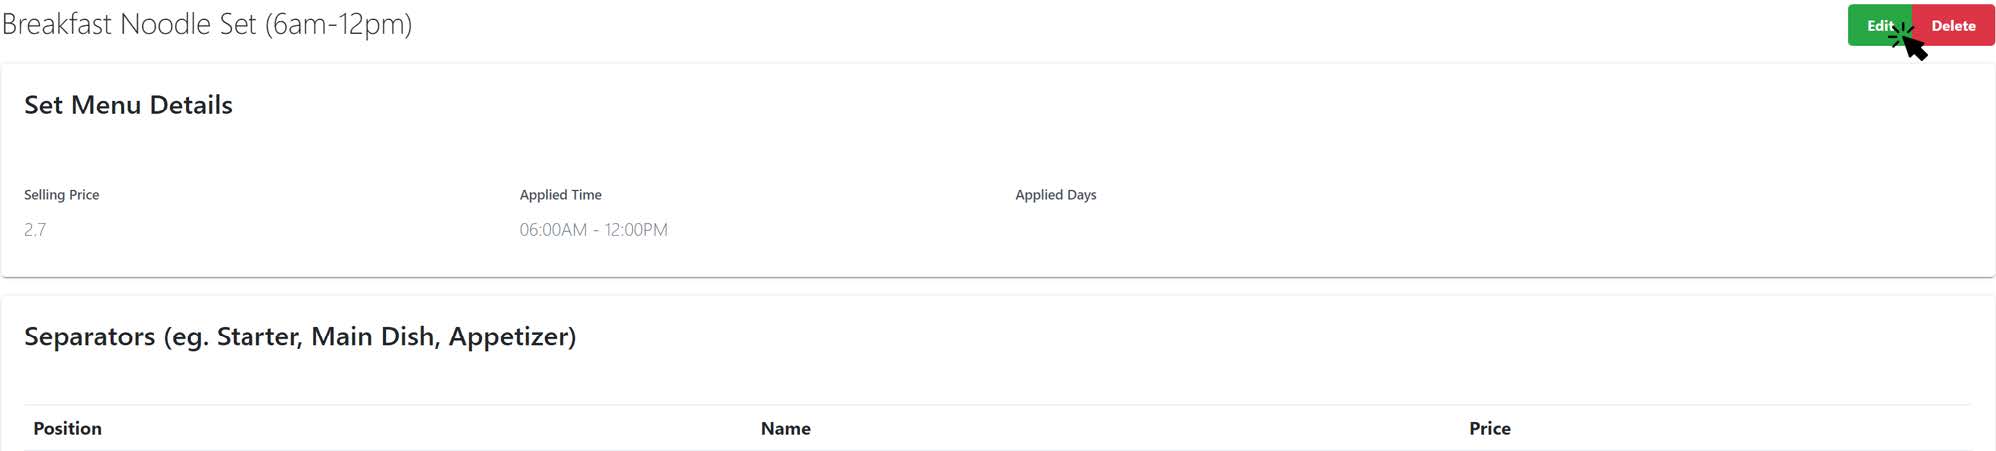
Users will be directed to the page below which is similar to creating a new set menu. Users can reconfigure the separators and products as needed. Click on Finish Editing once done.
💡 Users can now also search the Set Menu created at the product page, based on Set Menu Product Name or SKU. To further configure details such as product category, tax type, etc. see Product Configurations.