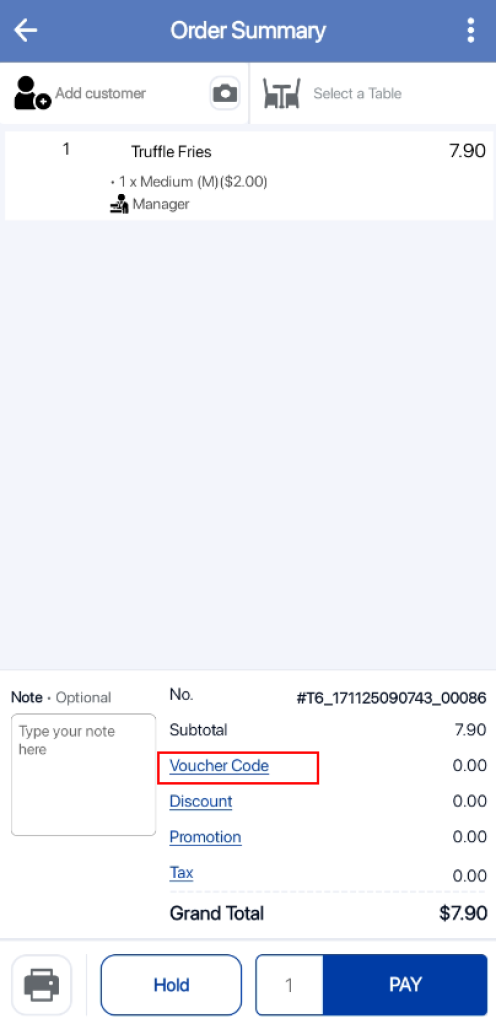
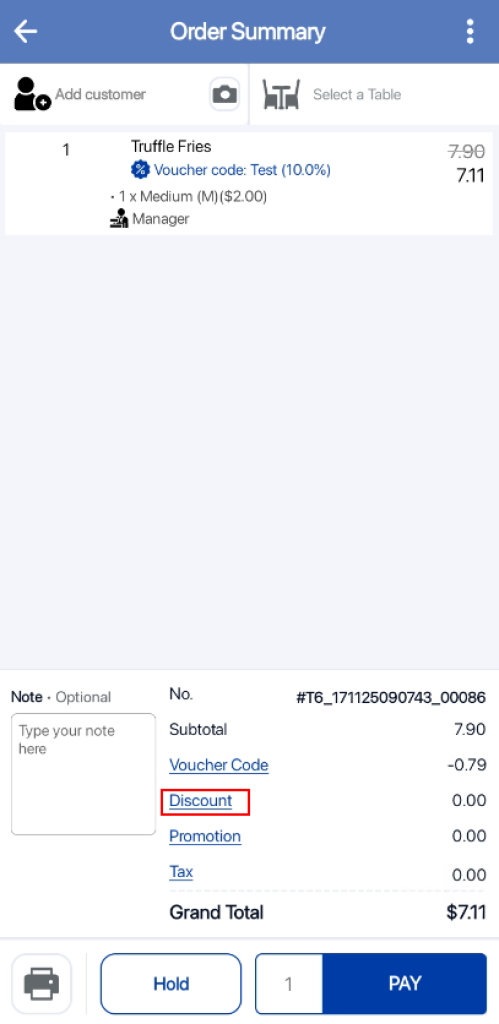
Users are able to hold their orders aside during operations when customers are not planning to check out immediately. Subsequently, users can retrieve orders which are being held and proceed to checkout.
Hold Sale
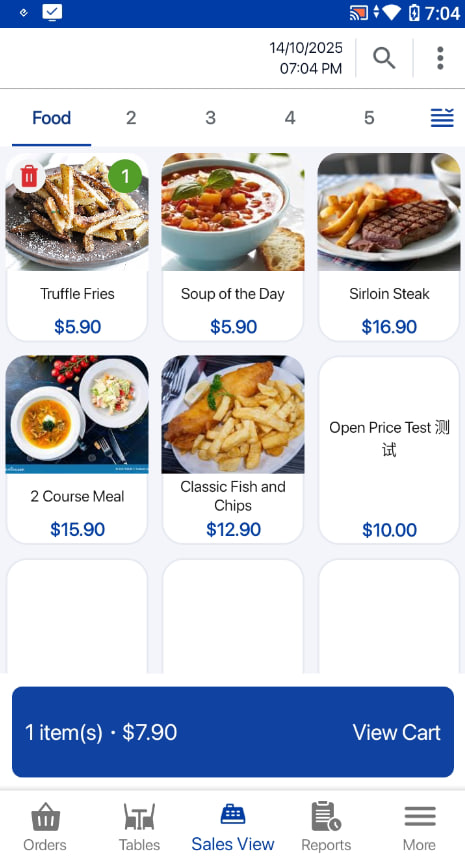
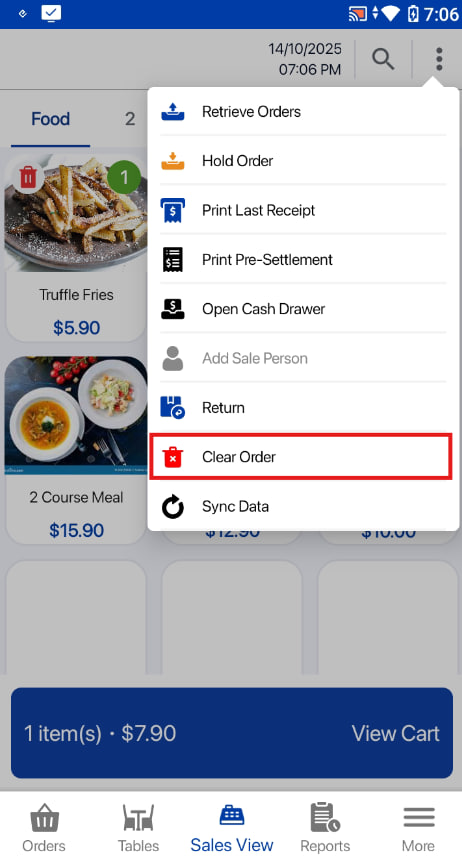
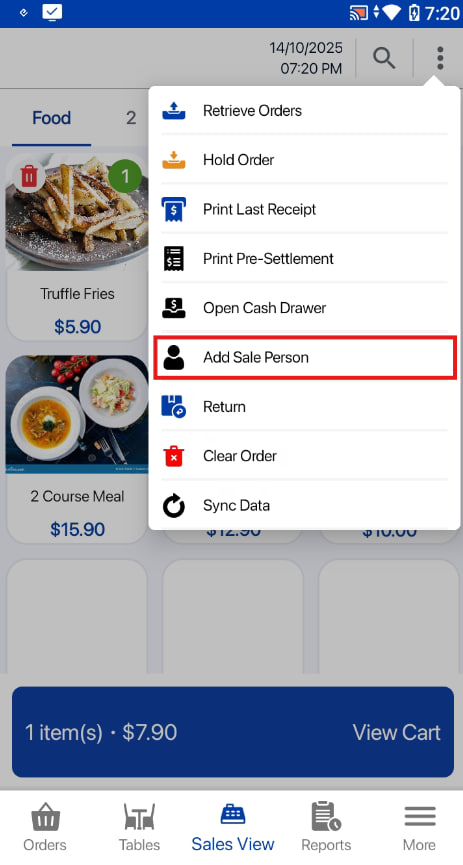
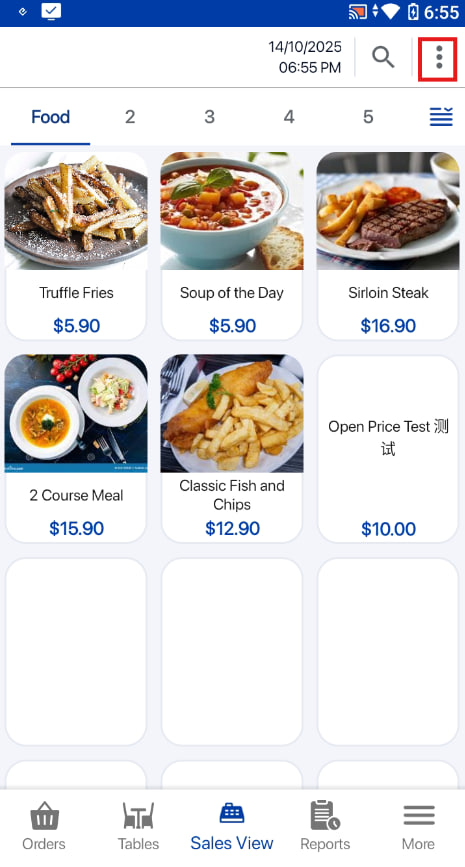
Users can click on the POS Order/Miscellaneous Menu at the top right corner of the sales screen.
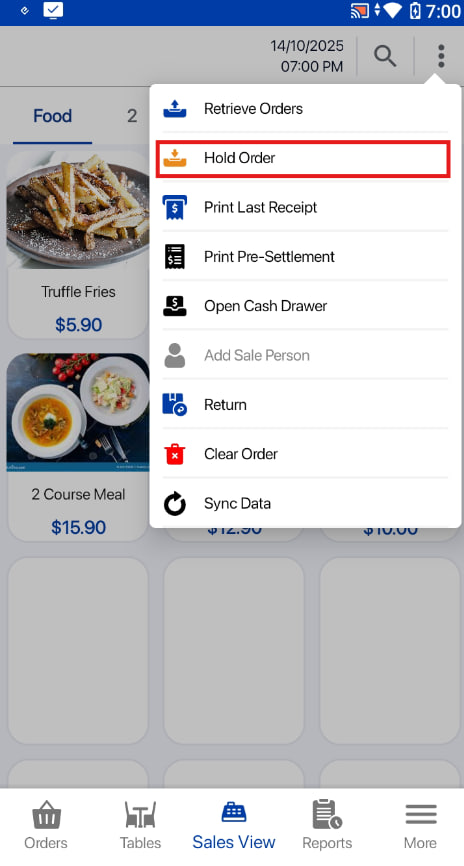
Users can click on the Hold Order button to hold the order.
Retrieve Sale
Users can click on the POS Order/Miscellaneous Menu at the top right corner of the sales screen.
Users can click on the Retrieve Orders button.

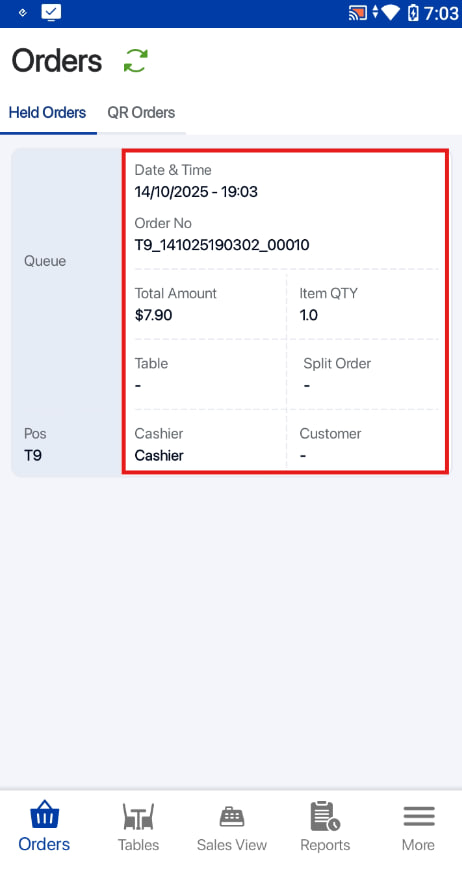
Users can look for the held orders from the list of orders and click on the order the user would like to retrieve.
The order will be added to the order cart and users can proceed to checkout.