No products in the cart.
⬇ Explore the functionalities of the customer group page by toggling between tabs below.⬇
This section describes Customers Groups. Users will be guided through on creating new customer groups and configuring customer groups. This feature is best to categorise customers into particular groups based on specific criteria.
At the EPOS Features Panel, under Customer, click on Groups to access the Customer Groups Main Page.
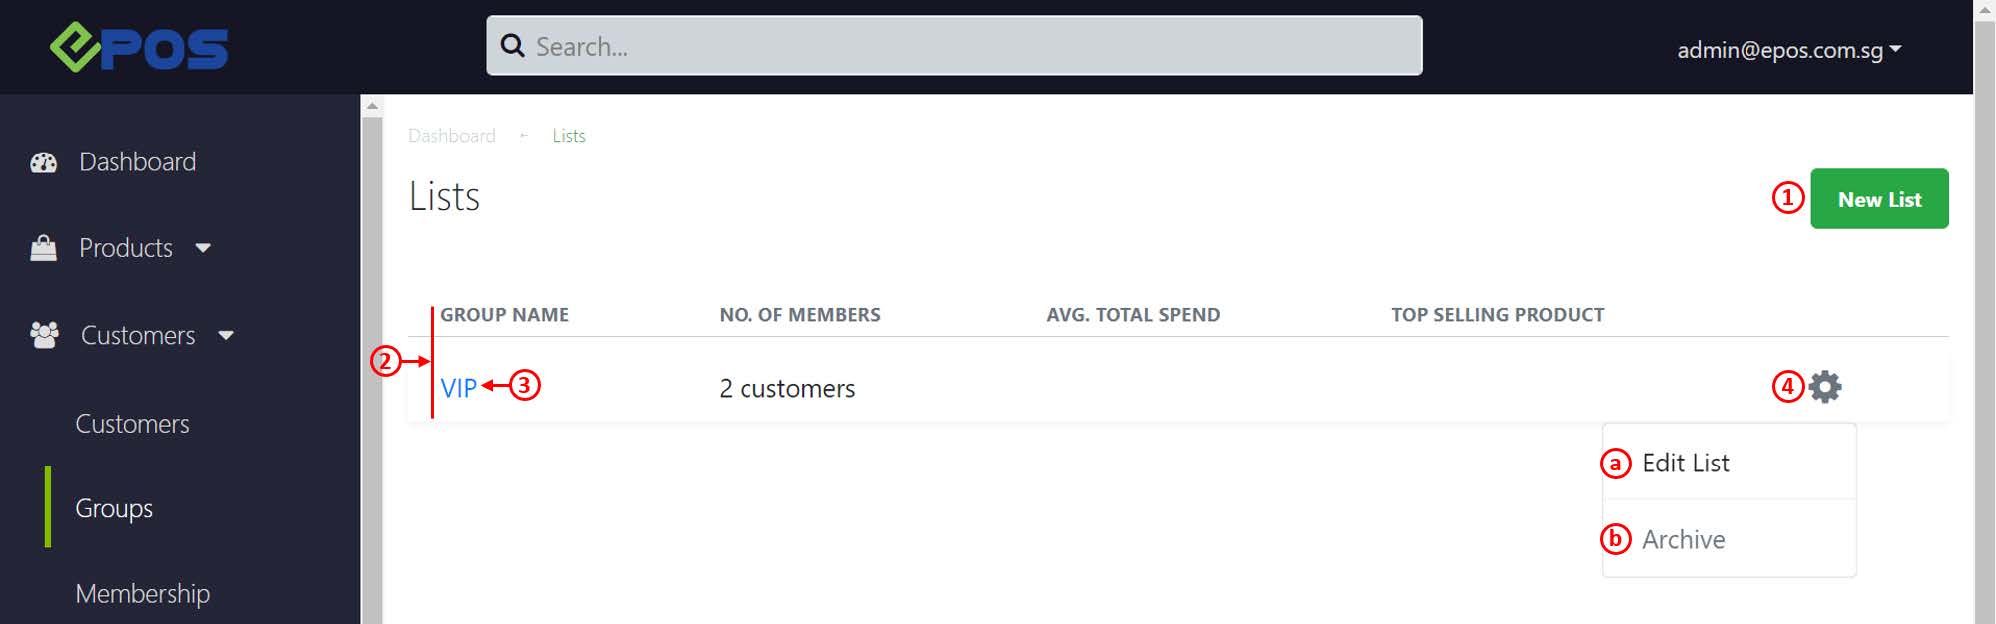
1. New List
Click on the New List button.
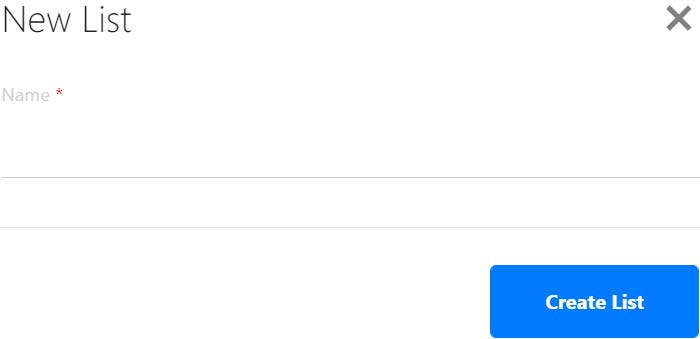
Enter customer group list name.
Click on Create List once done.
2. Customer Group Details
Shows the details related to customer groups created in BACKEND PORTAL.
- Name of customer group
- Number of customers in the group
- Avg. total spend of customers in the group
- Top selling product within the group
3. Customer Group Configuration
Directs user to configuration page.
For more information, see Customer Group Configurations.
4. Edit Group Button
a. Displays the Edit List window, similar to No.1.
b. Removes customer group from the list.
To access customer group configuration, click on the name of the Customer Configuration.
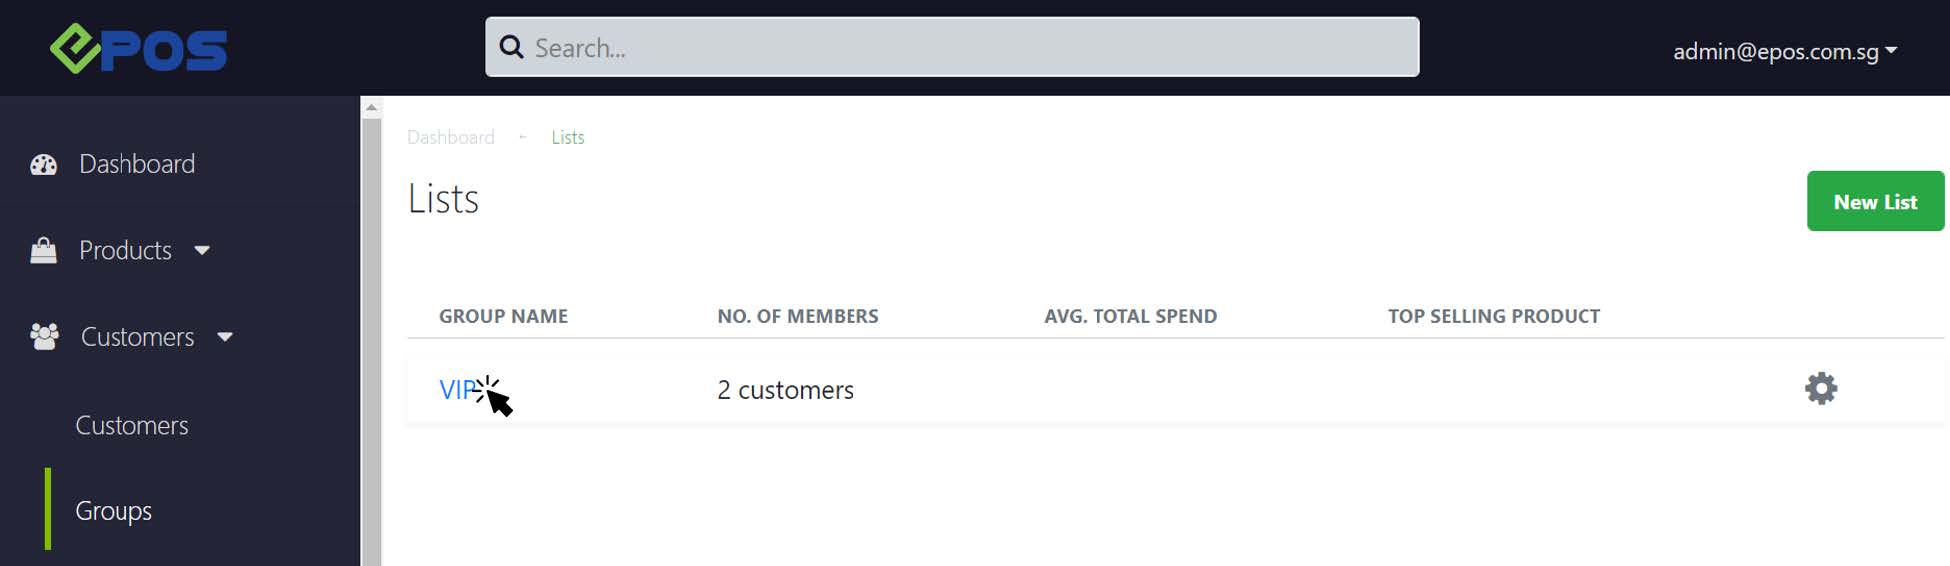
Users will be directed to this page.

1. Edit
Pops out the Edit Customer Group window.
2. Overview
Shows users the overview of the customer group.
3. Customer List
Shows the list of customers assigned to the customer group.
For more information, see Assigning Customers to Customer Group.
4. Product Ranking
Shows users the list of products that are commonly sold to customers in the customer group based on popularity.
Coming soon!
Customers can be assigned to desired customer groups. This can be done via two methods.
Customer Group Configuration
As a continuation from Customer Group Overview, click on the Customer List tab. Users can assign customers to customer groups.
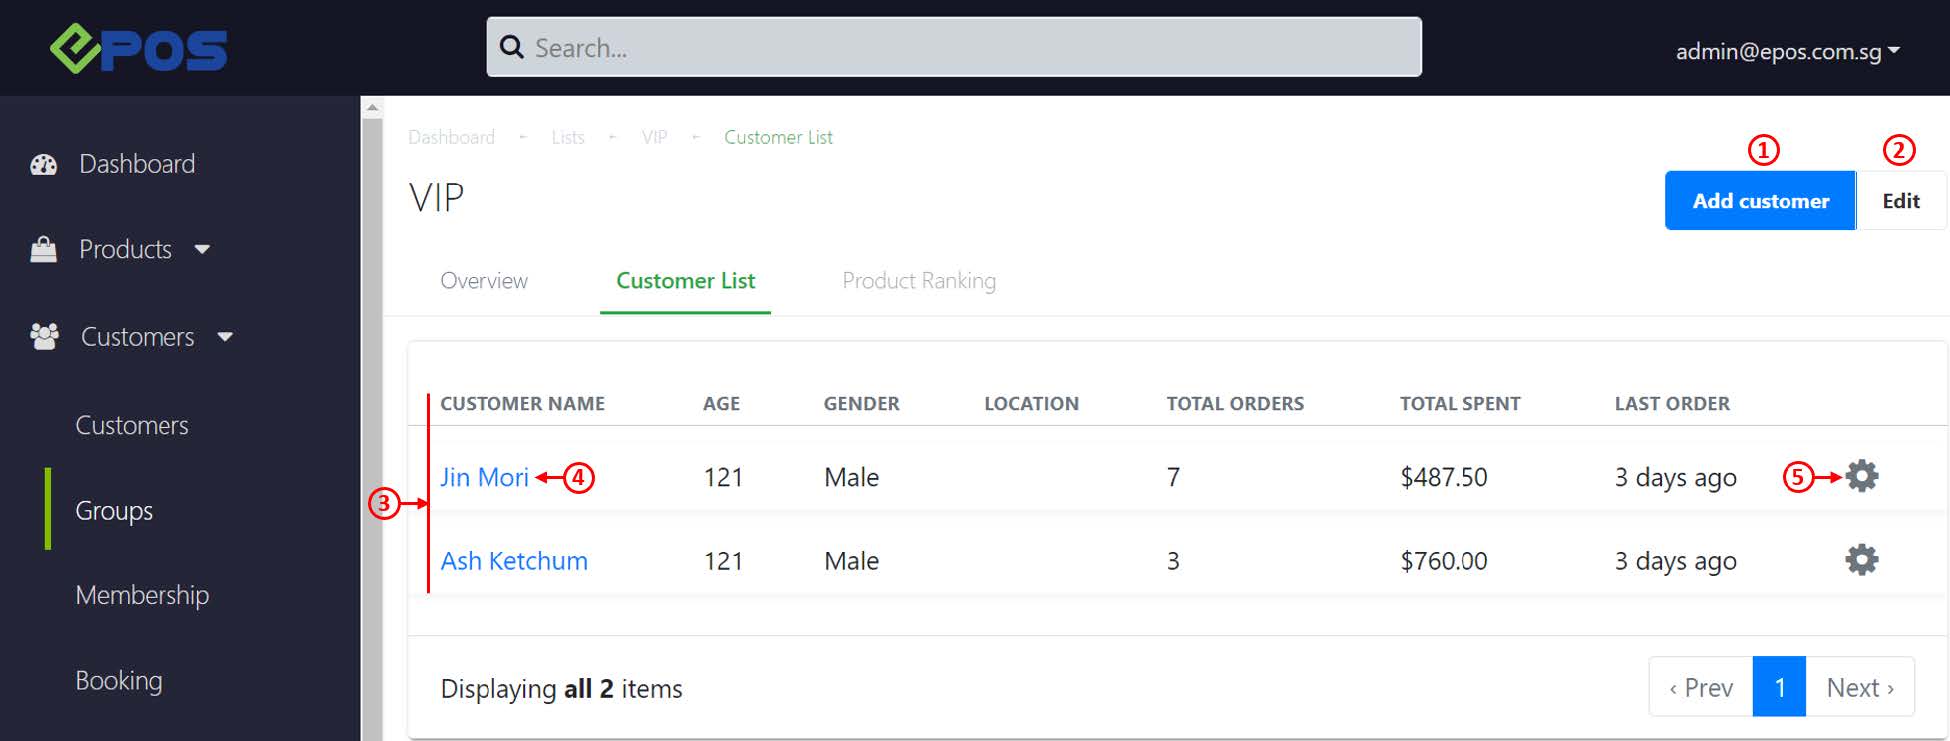
1. Add Customer
Click on Add Customer.
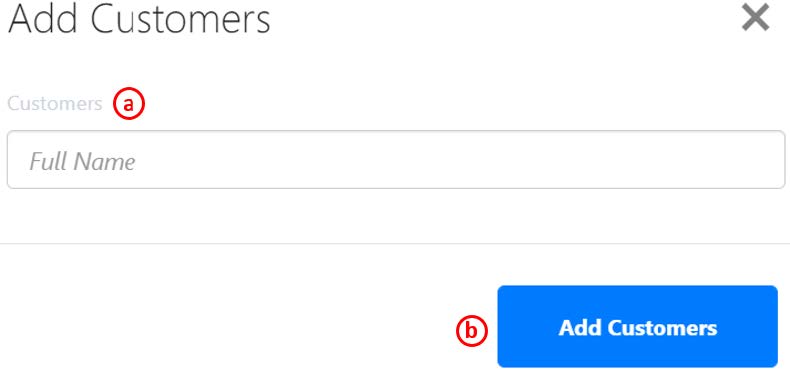
a. Search for customers.
b. Click on Add Customer once done. Customers will be added to the group.
2. Edit
Pops out the Edit Customer Group window.
3. Customer Details
Shows users the list of customers added to the group and related information.
- Age
- Gender
- Location
- Total orders (No of orders made)
- Total spent (Total amount spent)
- Last Order (No. of days)
4. Customer Configuration
Directs users to the customer configuration page.
5. Quick Settings
Click on the gear button for quick settings.
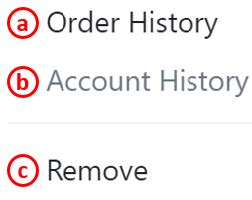
a. Order History – Directs user to customer’s order history page.
b. Account History – Directs user to customer’s account history.
c. Remove – Deletes customer from EPOS database.
Edit Customer through Customer Configuration
Alternatively, once a customer group is created, customers can be assigned to the group via Edit Customer.
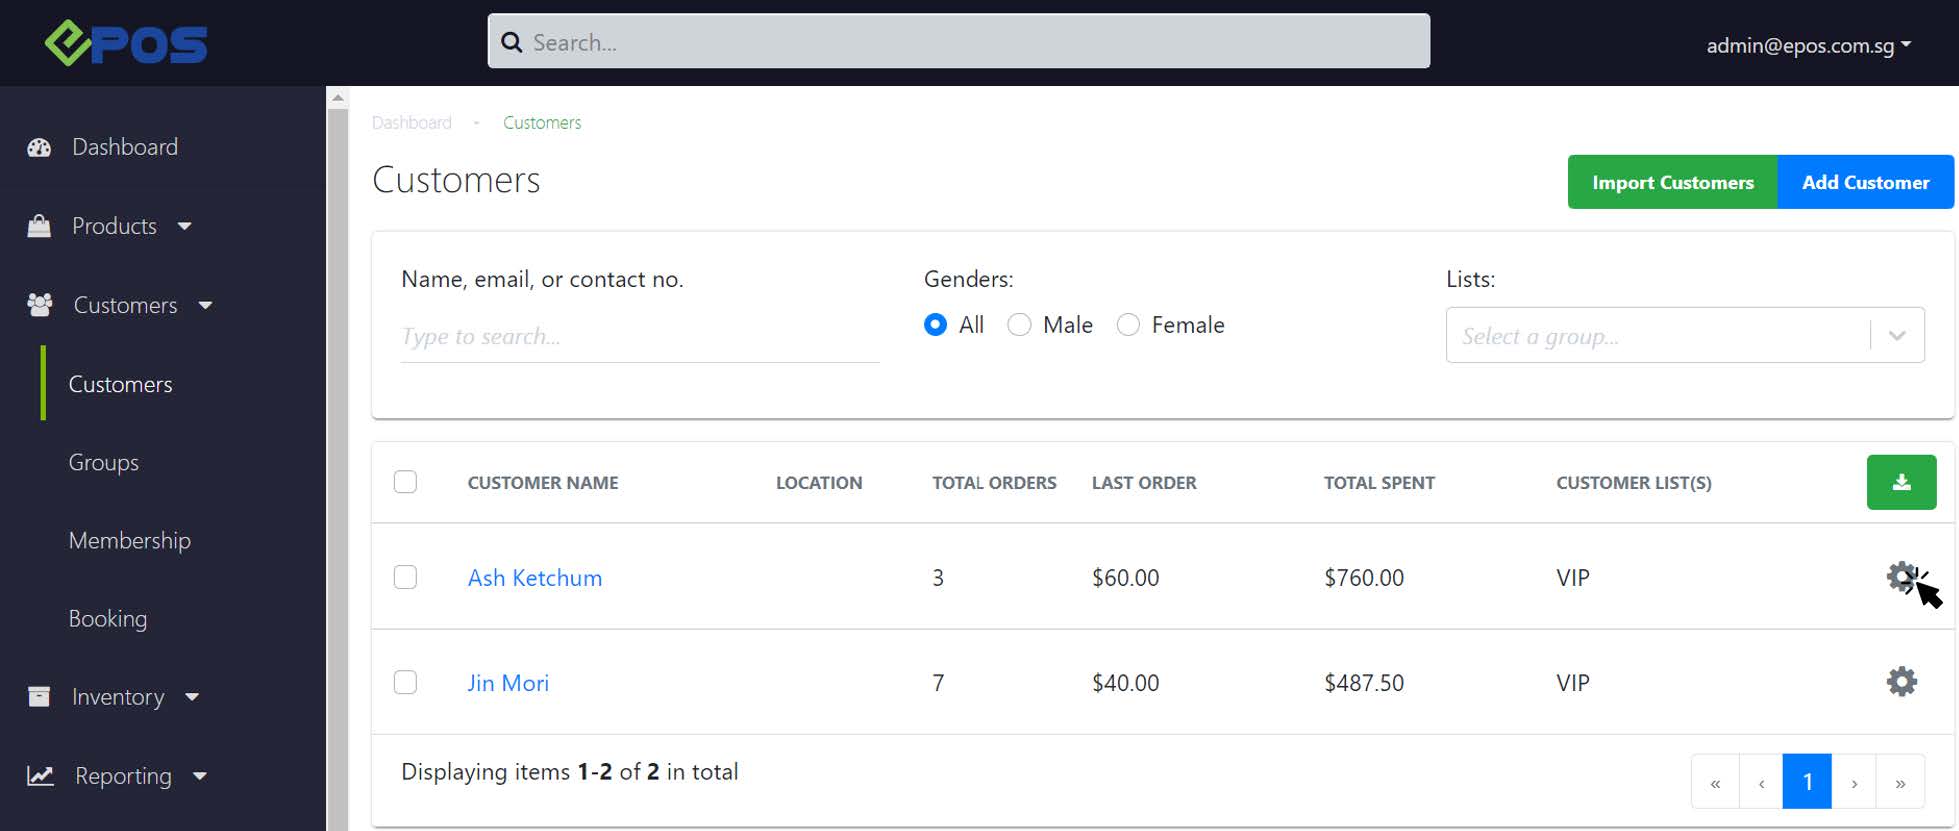
1. At the Customer Main Page, search for the particular customer, click on the Customer Setting.
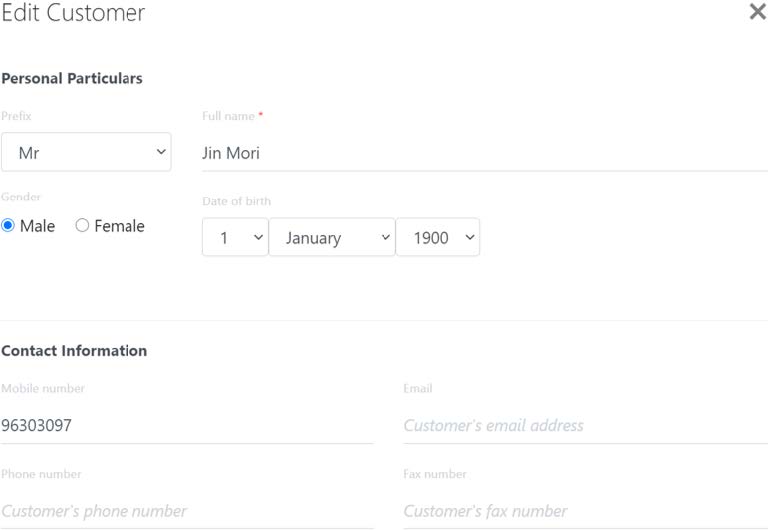
2. An edit customer window will be displayed.
3 Scroll down to List.
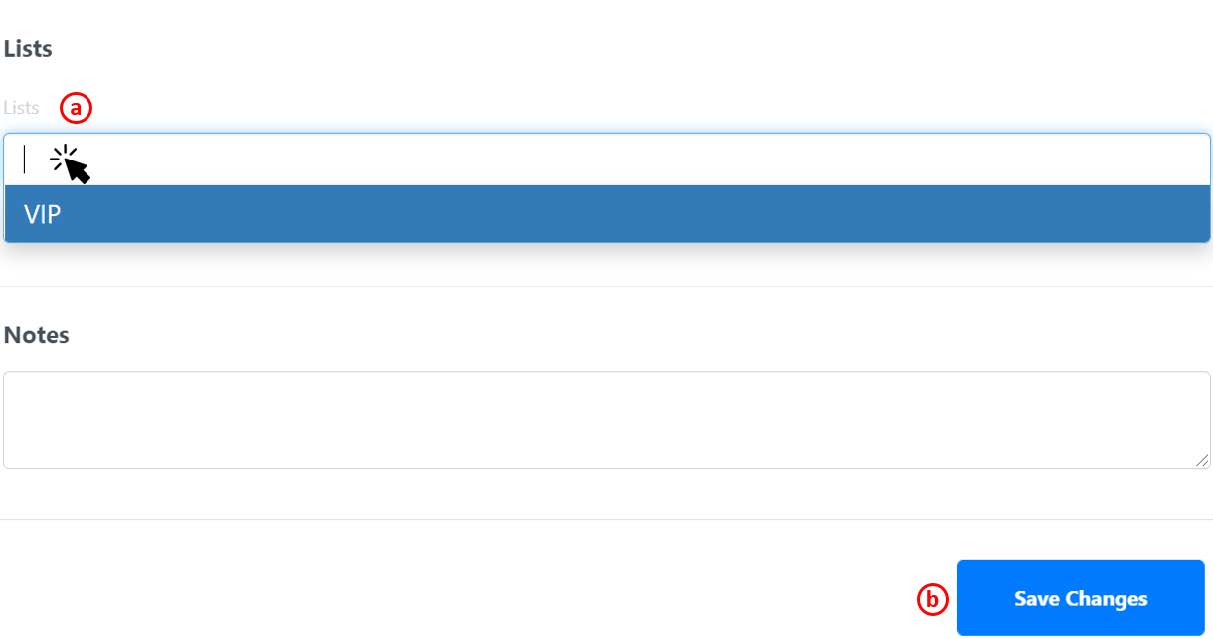
a. Type in the customer group created or click on the group in the drop-down box.
b. Click on Save Changes once done.
💡 Users are allowed to assign customers to multiple customer groups.