No products in the cart.
Video Tutorial :
Was this article helpful?
YesNo
Follow the steps below on how to manage reservations made from customer booking site
Users who are using the Booking Module(subjected to subscription), reservation button will be permanently removed from the POS. Users will not be able to reserve tables manually from the POS itself. Table reservations must be performed on the Customer Booking Site and Booking Dashboard.
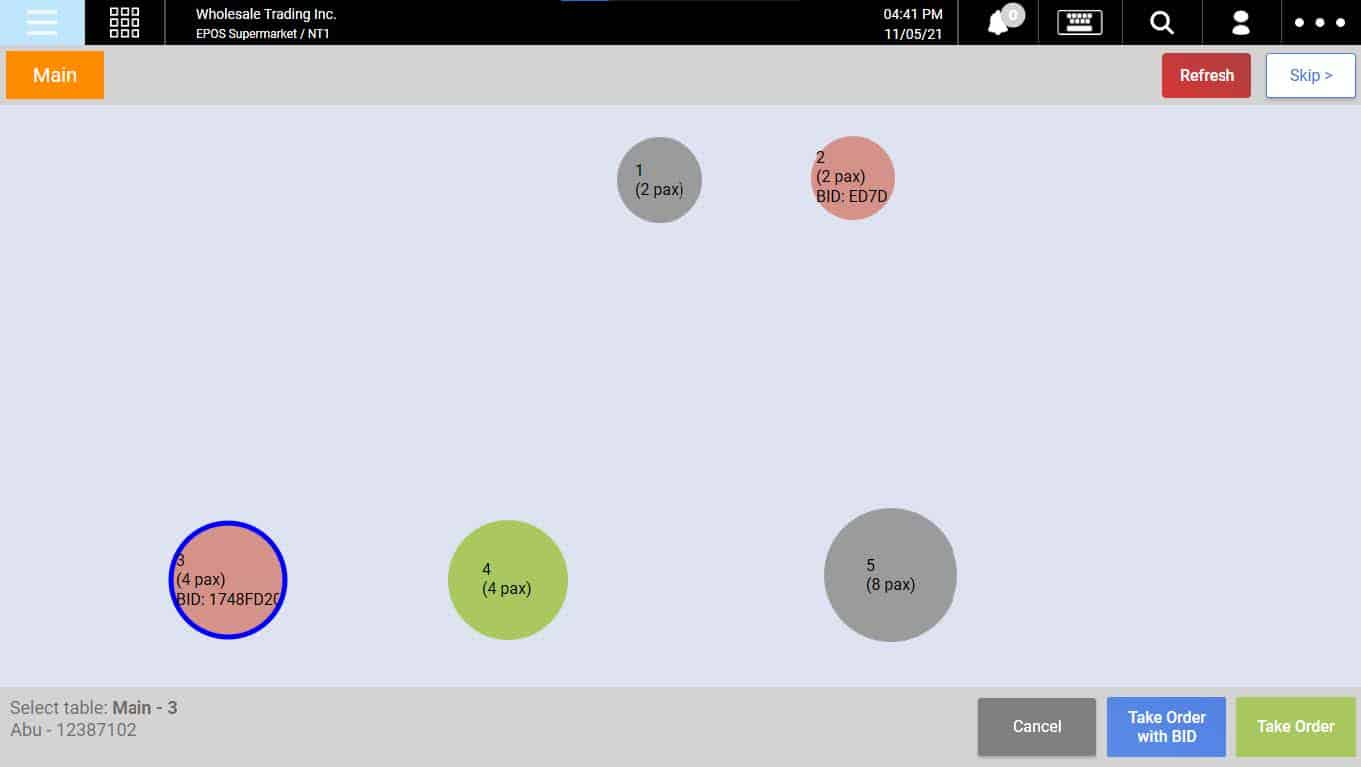
1. Access the table management page. Reserved table will be highlighted in red. Users can click on Skip to return to the Sales Screen.
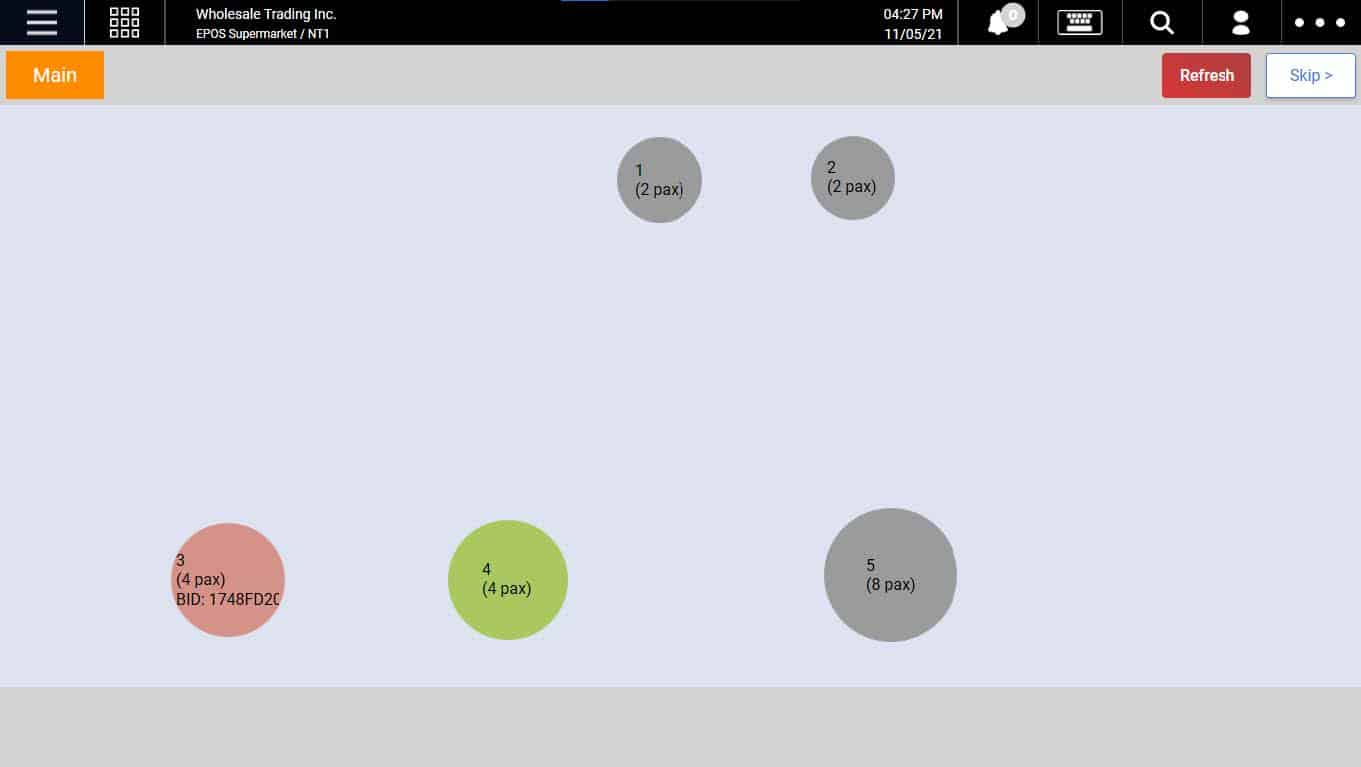
💡Tables will be displayed in red when there is a booking coming up within 1 hour.
2. Click on the reserved table to show the booking details. BID shown on the table is the Booking ID.
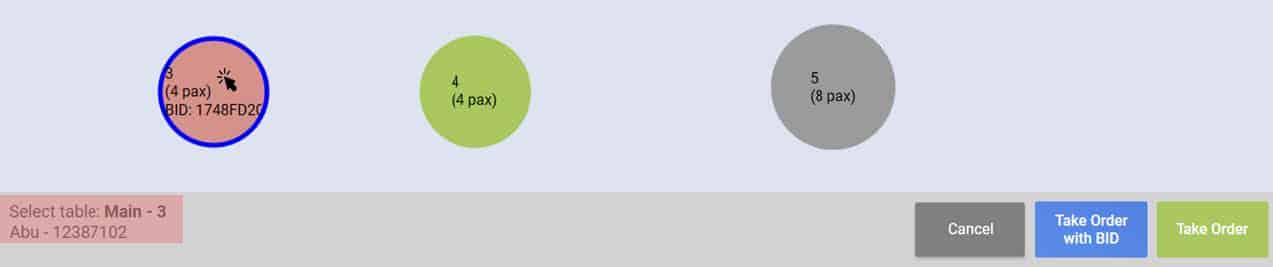
3. Users can still accept walk-in customers to be seated at the reserved table. To do so, select the reserved table and click on Take Order.
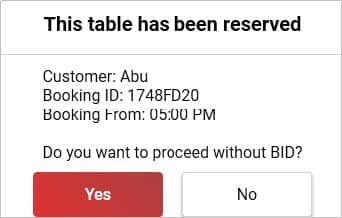
4. A warning prompt will be shown to remind users about the upcoming reservation.
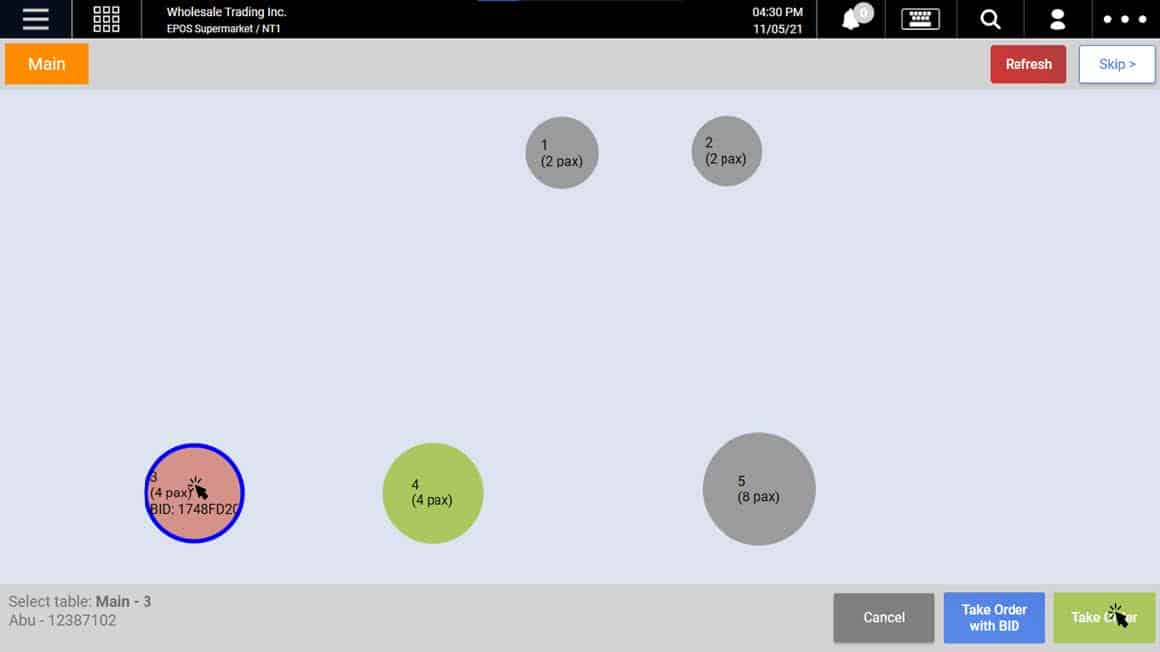
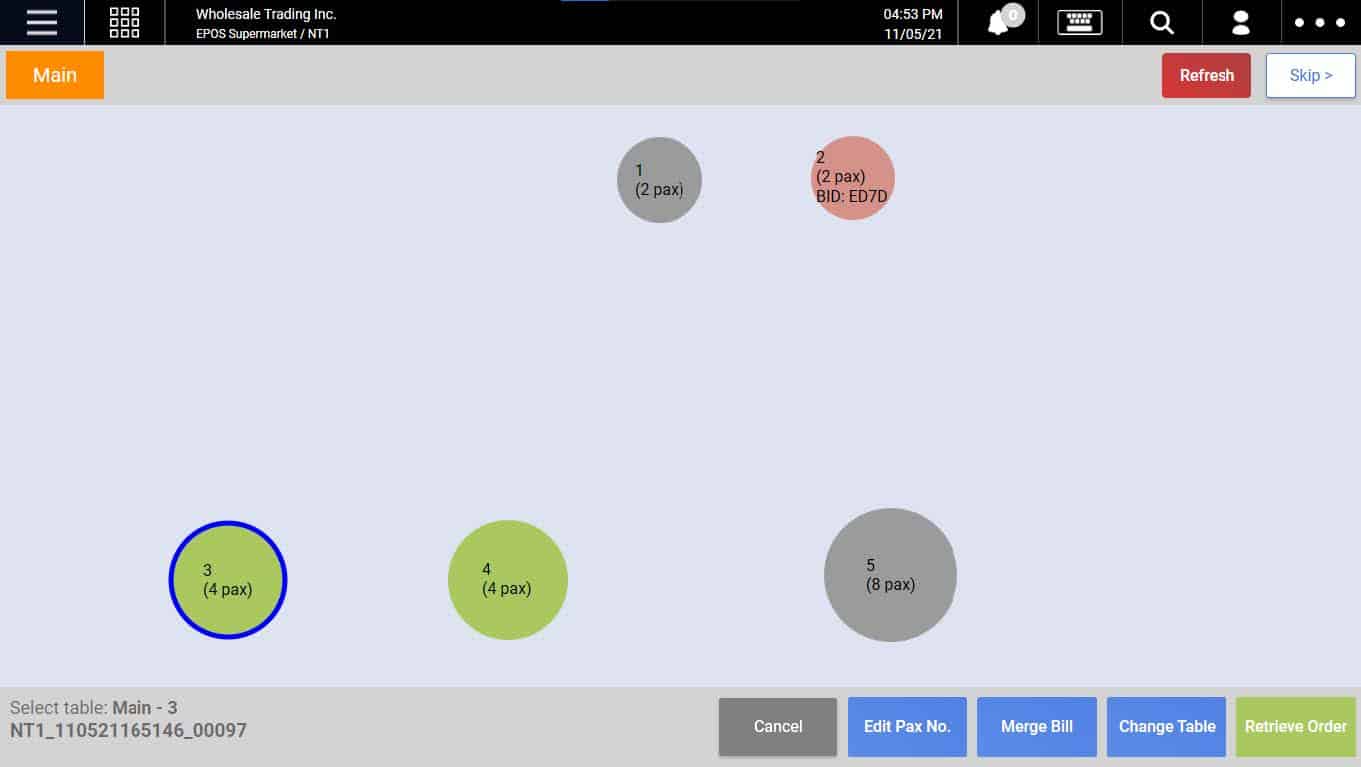
5. Now, the table will now be shown in green with an ![]() sign to remind users on the upcoming reservation.
sign to remind users on the upcoming reservation.

💡Information about the upcoming booking will be shown at the bottom right of the table management.
6. Once the current order has been cleared, the table will be shown in red again.
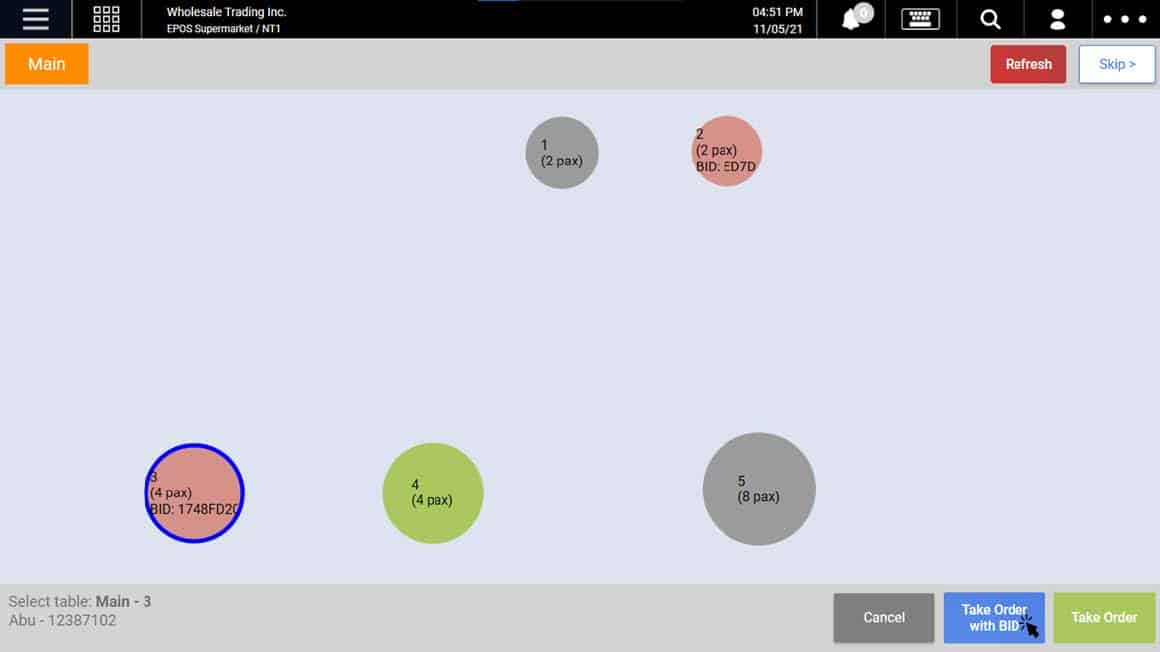
7. When customers approach the cashier with the booking ID, the cashier should click on Take Order with BID.
8. Once the cashier starts taking orders with a Booking ID, the order will turn green in the table management view.
💡There is no way to revert if cashiers had accidentally clicked on Take Order with BID by mistake.
💡Cashiers are not allowed to cancel reservations from the POS, cashiers will need to access the Booking Dashboard to make any amendments to the booking.
Was this article helpful?
YesNo