
To access the POS Menu, click on ![]() located at the top left corner of the Sales Screen. A menu will be shown.
located at the top left corner of the Sales Screen. A menu will be shown.
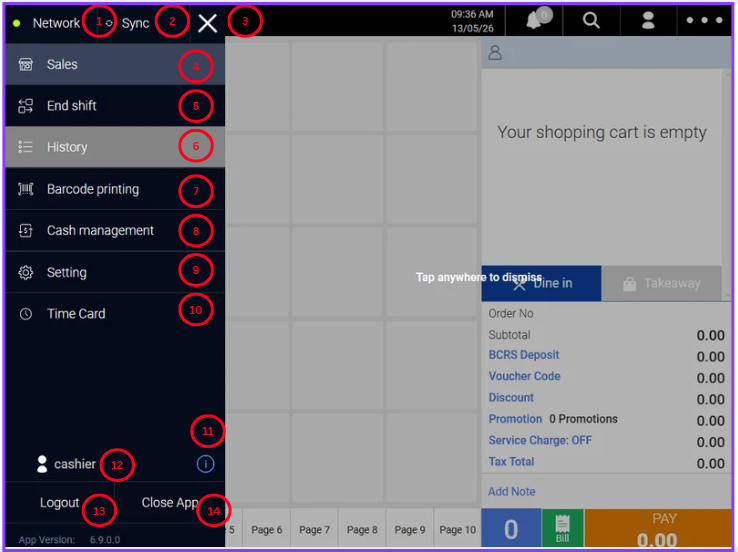
1. Network
Shows the network status of the terminal. A green light signifies the terminal is connected to a network.
2. Sync
Allow users to sync the changes done on BACKEND PORTAL to FRONTEND POS immediately. Reference video below
3. Close
Close POS Menu.
4. Sales
Direct users to the Sales Screen.
5. End Shift
Allow users to close the current shift. See How to End Shift for more information.
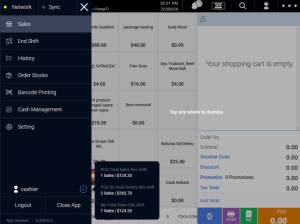
6. History
Allow users to access the transactions performed in FRONTEND POS.
7. Barcode Printing
Allow users to print barcode labels
💡Requires barcode printer and products created with barcodes.
Refer to Barcode Printing for more information.
8. Cash management
Allow users to perform cash in / cash out on the POS.
💡Cash management records will be recorded in BACKEND PORTAL as a part of shift report.
9. Settings
Allow users to configure the setting for FRONTEND POS.
10. Time Card
Allow users to track staff attendance with greater precision
Refer to Time Card for more information
11. Sales Summary
Hover the mouse over ⓘ to show the sales summary.
Note: POS On Hold Orders this shift are the unpaid orders in the current shift.
12. Staff-on duty
Shows the name of the staff logged into the POS.
13. Logout
Allow users to log out from the current session.
14. Close App
Auto-logs out users and shut down FRONTEND POS.