
This section describes Membership Tiers. Users will be guided on:
- Setting Up Membership Tiers
- Setting a Default Membership Tier
- Archiving Membership Tiers
- Assigning Members to a New Member Tier
- Setting up Points Configuration
To access the Membership Main Page, at the sidebar, click on Membership, by default, users will be directed to Membership Overview page.
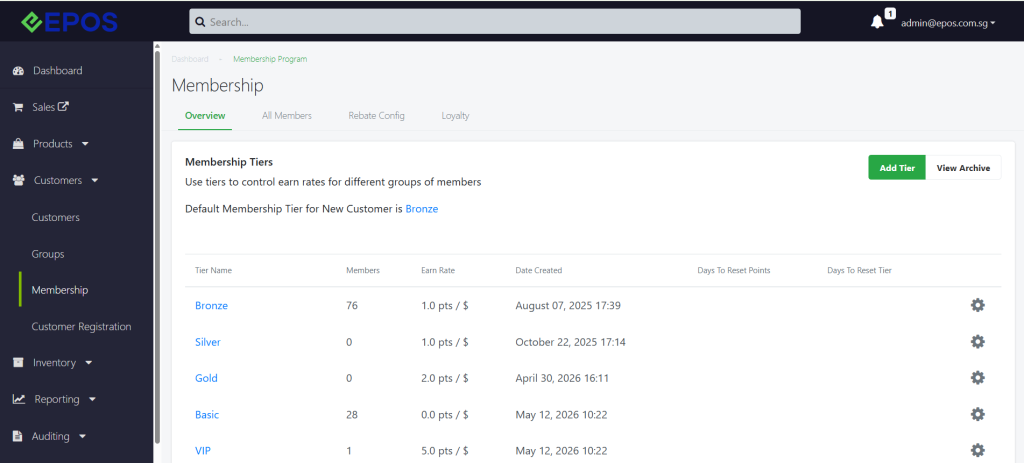
Note: For businesses not intending to implement membership tiers, one membership tier still has to be created.
Steps
1. In the EPOS Backend Portal, go to Customers > Membership, click on ‘Add tier’
2. Fill in membership details
- Tier name
- Base earning rate: How many points earned per $ spent
- Points expiry days
3. Click on ‘Add tier’

4. [Optional] Repeat Steps 1-3 for multiple membership tiers
e.g. Bronze, Silver, Gold
5. Once all membership tiers are created, click on the blue link: ‘not set yet’

6. Select the tier that you want all new members to automatically go into upon signup

7. Click ‘Submit’
Default Membership Tier
Allows new customers to be automatically assigned to a particular membership tier.
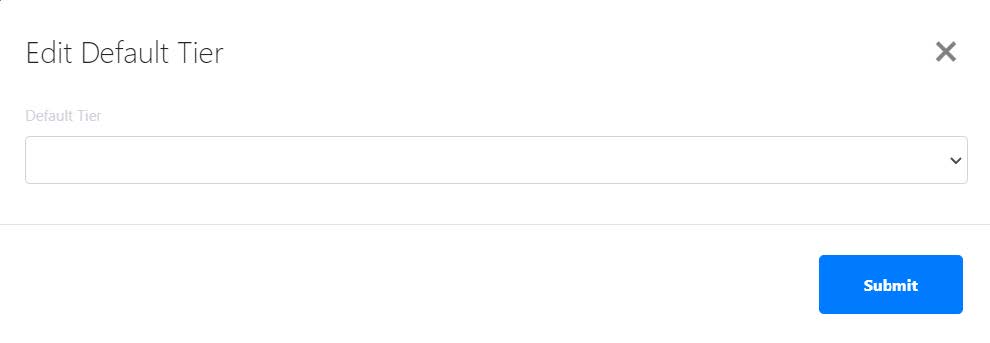 Click on the membership tier name to select the default tier from the list of dropdown selections. Click on Submit to confirm and save change.
💡No default tier will be selected if left blank.
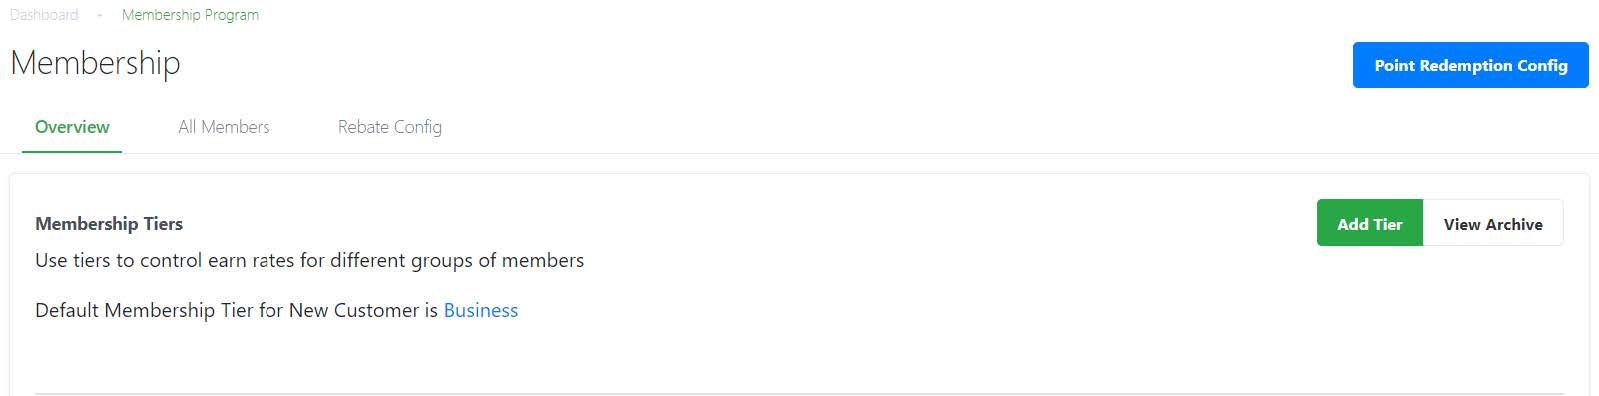
Once set, the default membership tier will be shown.
Steps
-
Find the membership tier which you want to archive. To the right of the same row as the membership tier name, find the gear-shaped settings button
 for that membership tier.
 -
Select the “Archive Tier” option and click confirm on the pop-up
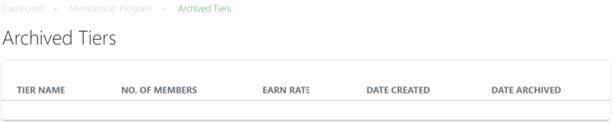
View Archive
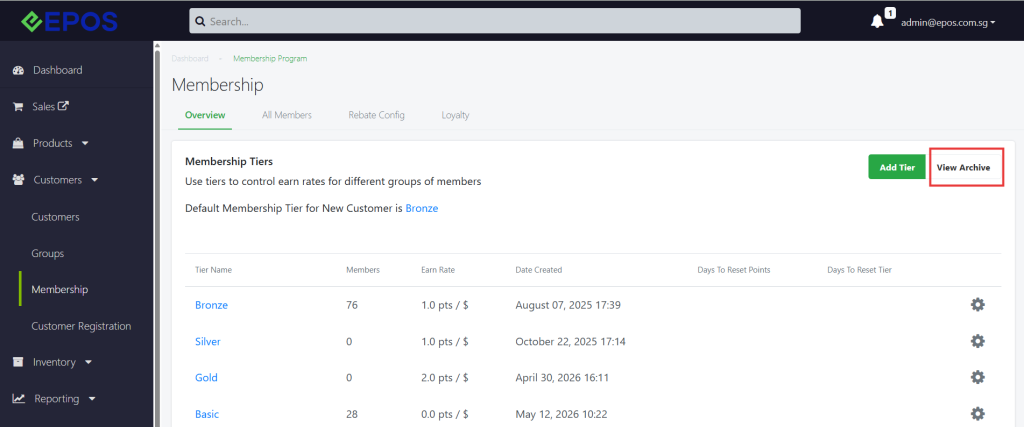
Shows the membership tiers which are no longer active.
-
- Membership Tier Name
- No. of members
- Earn Rate: No. of points earned per dollar spent
- Date of membership tier created
- Date of membership tier archived
Users will see members details in Membership Configurations under the Members tab.
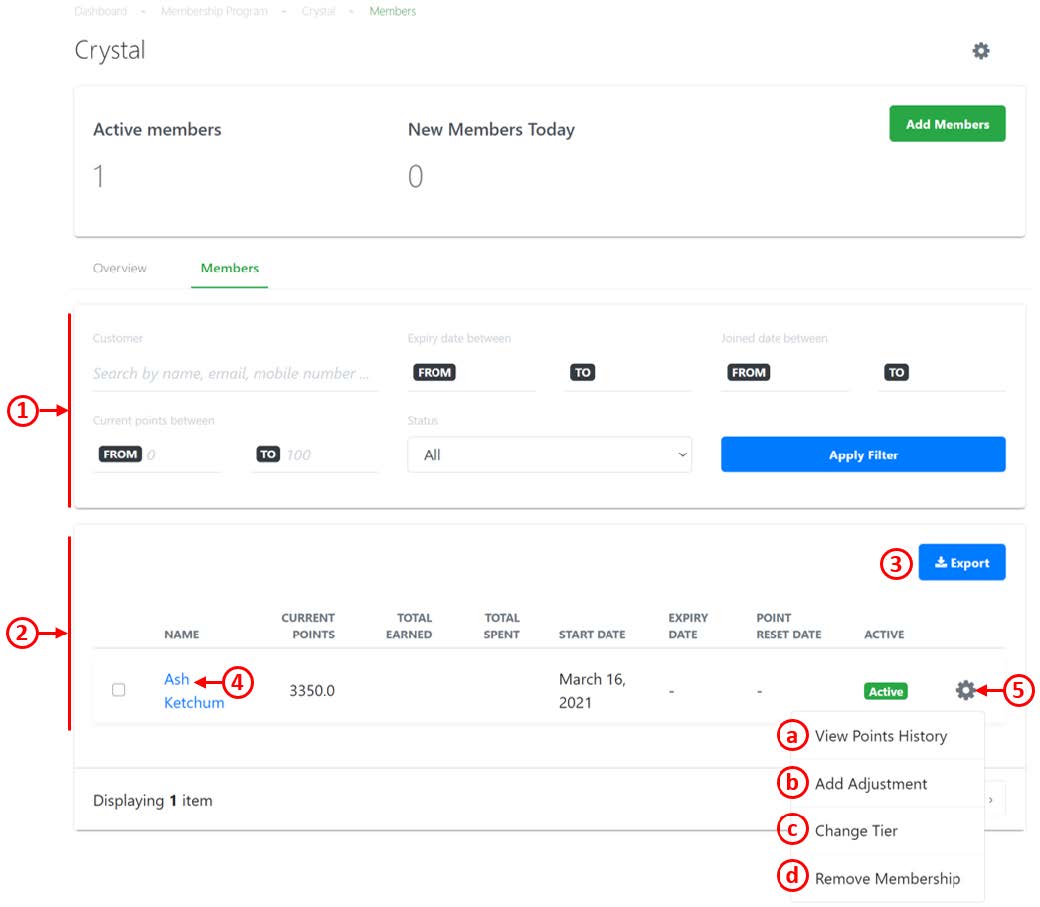
1. Filter and Search
Allows users to filter and search for customers in the membership.
2. Members List
Shows user the list of customers added to the membership tier and related details:
-
- Name of customer
- Current Points
- Total Points Earned
- Total Points Spent
- Start Date of membership
- Expiry Date of membership
- Point Reset Date
- Active Status
3. Export Members List
Download the list of selected members and relevant information in CSV format.
4. Customer Configuration
Directs users to the Customer Configuration page of a particular customer.
5. Quick Settings
a. View Points History: Directs user to Customer’s Point History.
b. Add Adjustment: Displays Add Adjustment window
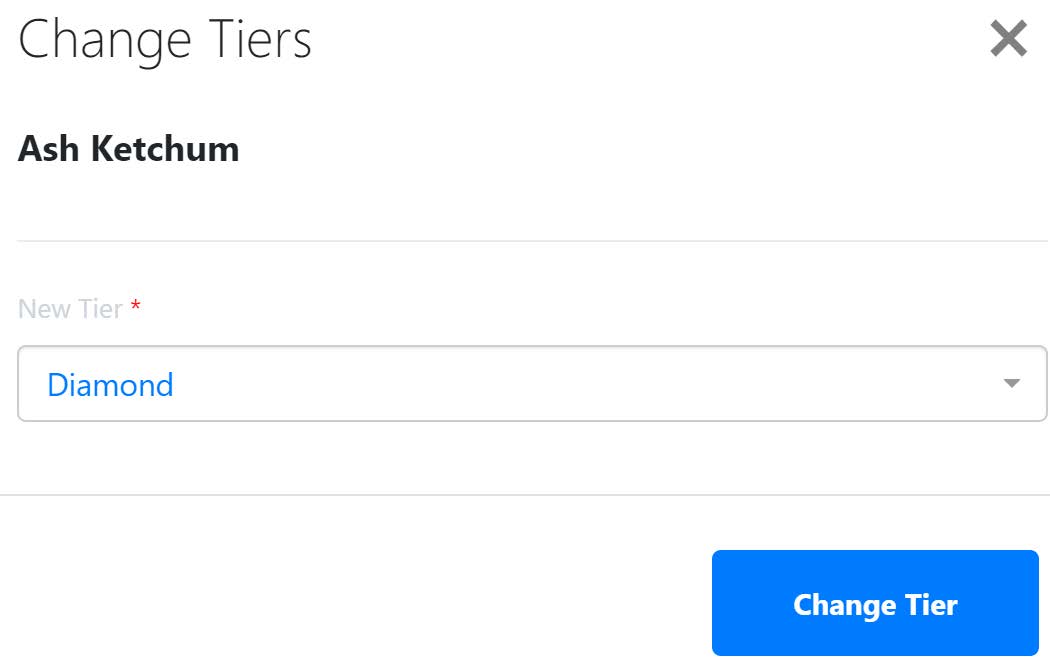
c. Change Tier: Allows users to change customer’s membership tier. Select a new membership tier then Click on Change Tier once done.
d. Remove Membership: Removes customer as a member.
Steps
1. In the EPOS Backend Portal, go to Customers > Membership, set up Base Earning Rate within the membership tier:
1.1. Add membership tier
1.2. Fill in membership details
- Tier name
- Base earning rate: How many points earned per $ spent
E.g. 1.0 = $1 Spent → 1 Point Earned

1.3. ‘Add Tier’
2. Go to Customers > Membership > Rebate Config, click ‘Point Redemption Config’

3. Set up rebate config
3.1. 1 point cash value conversion:
E.g. 1% rebate config:
(i) Setup base earning rate as 1.0
(ii) 1 point converts to cash value of $0.01
3.2. Tick ‘No limit’ if no limit for maximum point redemption per order
4. Click ‘Change Rule’