These are the criteria to fulfil for auto-merging to be applied to multiple QR/WebApp orders:
Order type: Orders must be “Dine-In” orders
Tables Tagged to the Order: Multiple orders are sent from the same table
Customers Tagged to the Order: Multiple orders are sent from one single customer (based on contact number) OR ALL orders are sent by guest logins (if not signed in)
Order payment method: Orders must be ‘Pay at cashier’
Video Tutorial (When auto-merge feature is enabled)
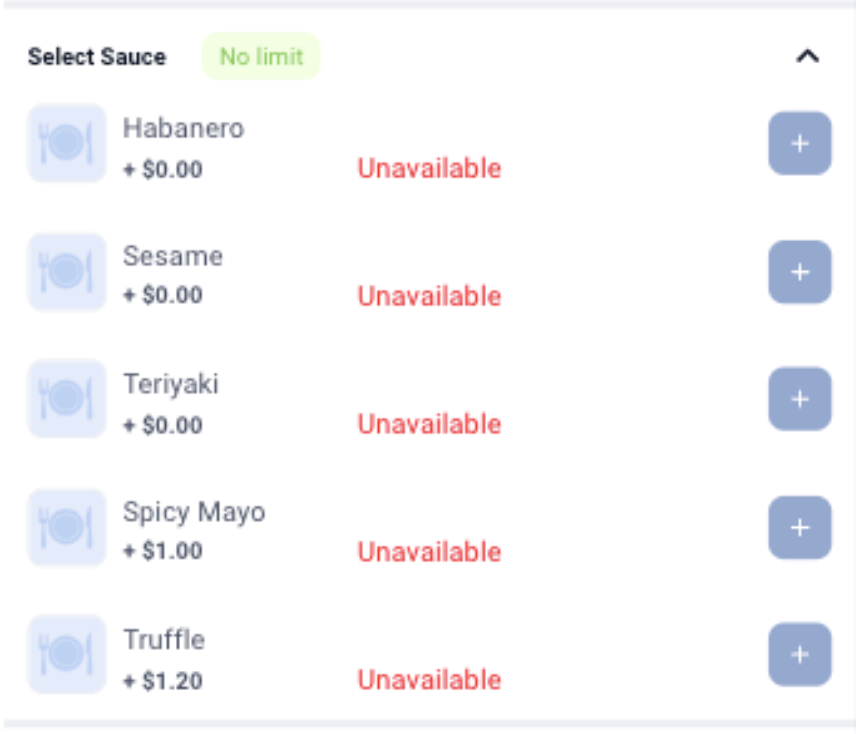
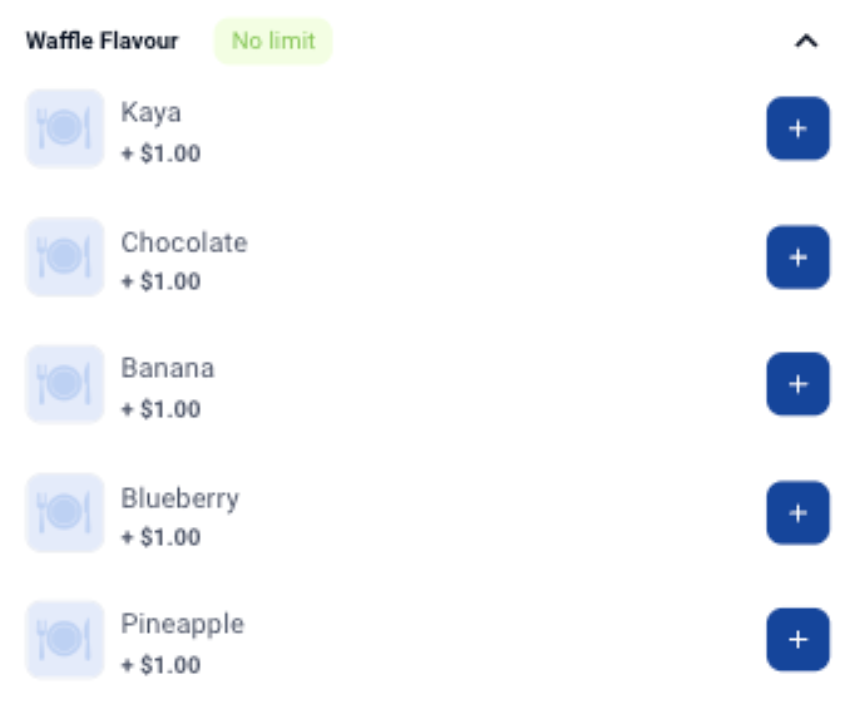
After changing the Add-on Modifier limit, the users flow in Web Ordering App and Self Service Kiosk would update accordingly.
Web Ordering App
Self Service Kiosk
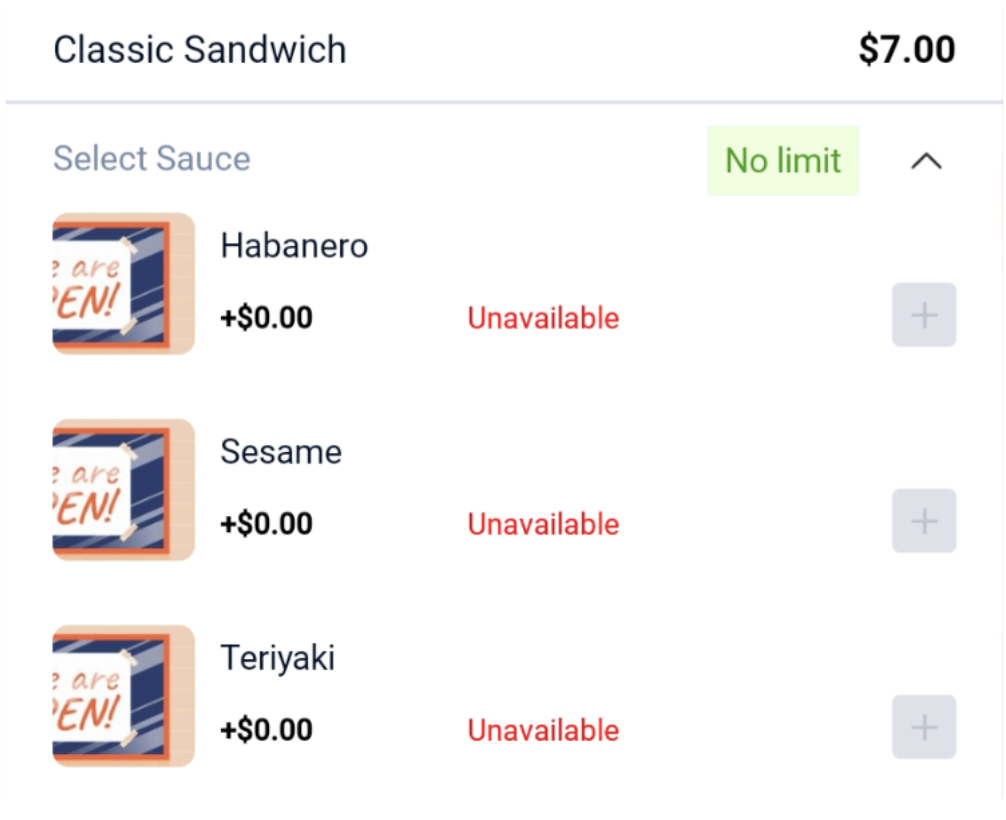
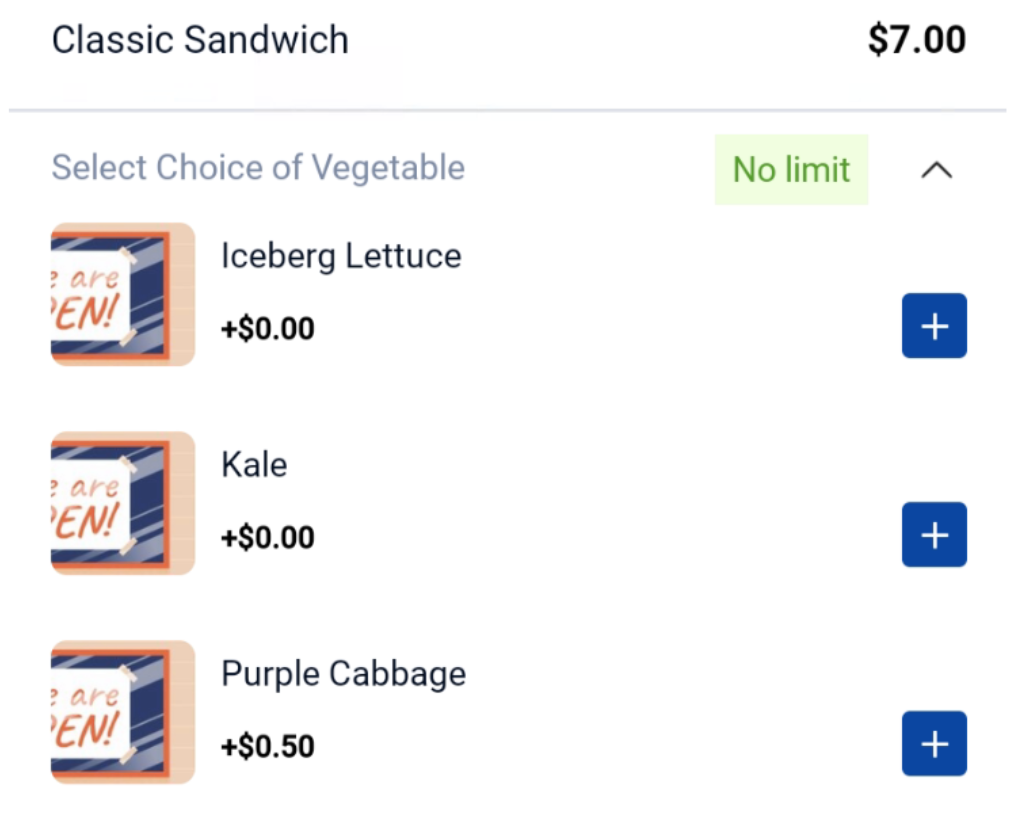
After adjusting the Modifier Availability, users can check whether the modifier is available on the Web Ordering App and Self Service Kiosk.
Web Ordering App
Here are how the page looks when turn off/on the availability toggle.
Availability toggle: OFF
Availability toggle: ON
Web Ordering App
Here are how the page looks when turn off/on the availability toggle.
Availability toggle: OFF
Availability toggle: ON
In order to edit unpaid Kiosk Orders, users can retrieve it and make the necessary changes.
When the ‘Auto Send All’ toggle in the backend is turned off, unpaid QR and Kiosk orders in the Pending Confirmation column will display a ‘Retrieve’ button.
To check for the unpaid Kiosk Orders, users can click on the Bell icon to view ‘Pending’ and ‘Confirmed’ orders made from the self-service Kiosks.
Users can toggle between the tabs to locate different orders.
Users can find the targeted pending orders from the list.
After clicking on the orders, there would be a panel on the right-hand side showing the order details.
Users can click on the Retrieve button to obtain the order details in the Sales View.
In the Sales View, users can edit the order by adding, deleting or modifying.
After making edits, users can click on the Orderbutton to fire the order to the Kitchen Printer.
When users go back to the Bell icon, the order will then be moved to the ‘Confirmed’ column.
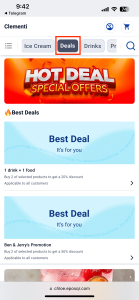
Users can set their promotions to be displayed in the QR/Web Ordering App.
Users have to ensure that all the products in the promotion have been added to the Kiosk & Web Ordering tab in the backend portal. Users can refer to this guide to add their products. After setting up the promotions and products on the backend portal, users can proceed to use the QR/Web Ordering App. There are 2 options for users to access the promotions set.
(1) Deals
Users can direct to the Deals tab to view all of the promotions set in the backend portal.
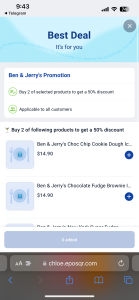
Users can click into one of the promotions. It will display the following information.
Promotion Name
Promotion Description
Promotion Rule
Applicability to Customer Groups
Products in the promotion
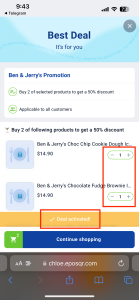
After selecting the products, users can see that the deal is activated to show that the promotion is applied and click on the Continue Shopping button.
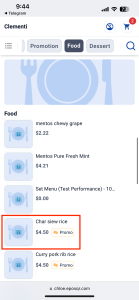
(2) Individual Products
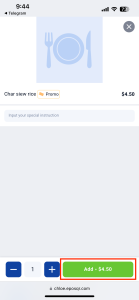
Users can select individual products with the Promo icon.
After clicking on the product, users can click on the Add button.
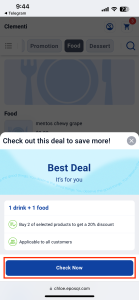
There will be a pop up to show the promotion and users can click on the Check Now button.
In the promotion, it will display the following information.
Promotion Name
Promotion Description
Promotion Rule
Applicability to Customer Groups
Products in the promotion
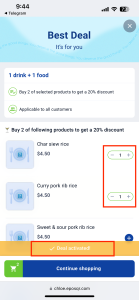
After selecting the products, users can see that the deal is activated to show that the promotion is applied and click on the Continue Shopping button.
Setup:
The BCRS plugin must be installed in your backend before any BCRS configuration options become available. If you do not see the BCRS-related fields described in this guide, please contact our support team to enable the plugin.
Note: When a BCRS-eligible item is scanned or added to the cart, the deposit is applied automatically — no additional action is required from the cashier.
1. Select the BCRS item from Quick Pick. BCRS items include any items that are BCRS eligible, including those in set menus.
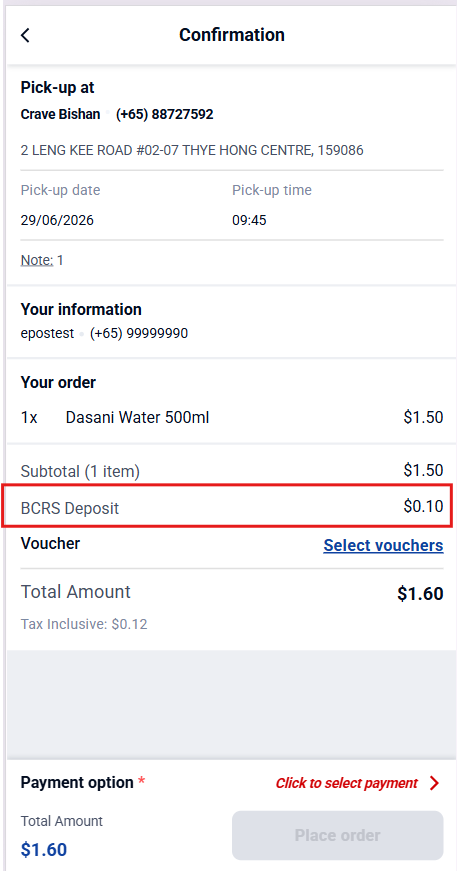
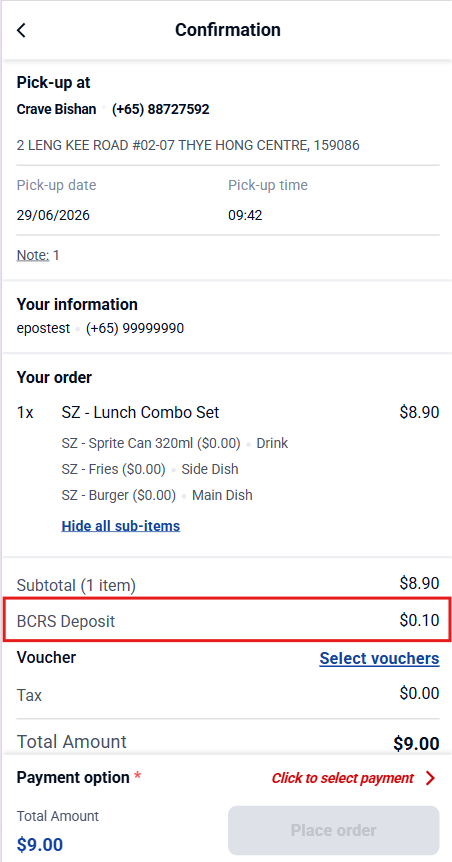
2.The BCRS deposit will not appear in the cart, but in the confirmation page. In the order summary, a “BCRS Deposit” line will appear below the Subtotal, showing the total deposit amount across all BCRS-eligible items in the cart.
a) BCRS deposit reflected for individual item
b) BCRS deposit reflected for item in set menu
Note: The BCRS Deposit is not subject to GST or service charge, and will not be affected by promotions.
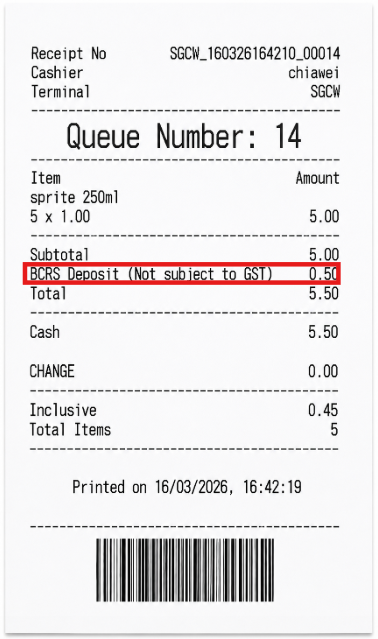
3.If the user opts to make payment at the cashier, the printed receipt obtained will reflect the BCRS deposit clearly.
The footer of the receipt will include the line: “BCRS Deposit (Not subject to GST): [BCRS Deposit Amount]”